Looking after your bike is easy! John Milbank shows you how with his 2000 Honda CBR600FY.
Whenever I look for bikes to buy, I’m shocked at how few machines have even a basic record of maintenance. I’m not talking about original-dealer stamped service books (though I do love them) – I’d be happy with a receipt for some oil, and some basic interest from the owner in a motorcycle’s well-being. A motorcycle oil change has to be one of the most important jobs to do.
Enjoy everything More Bikes by reading the monthly newspaper, Read FREE Online.
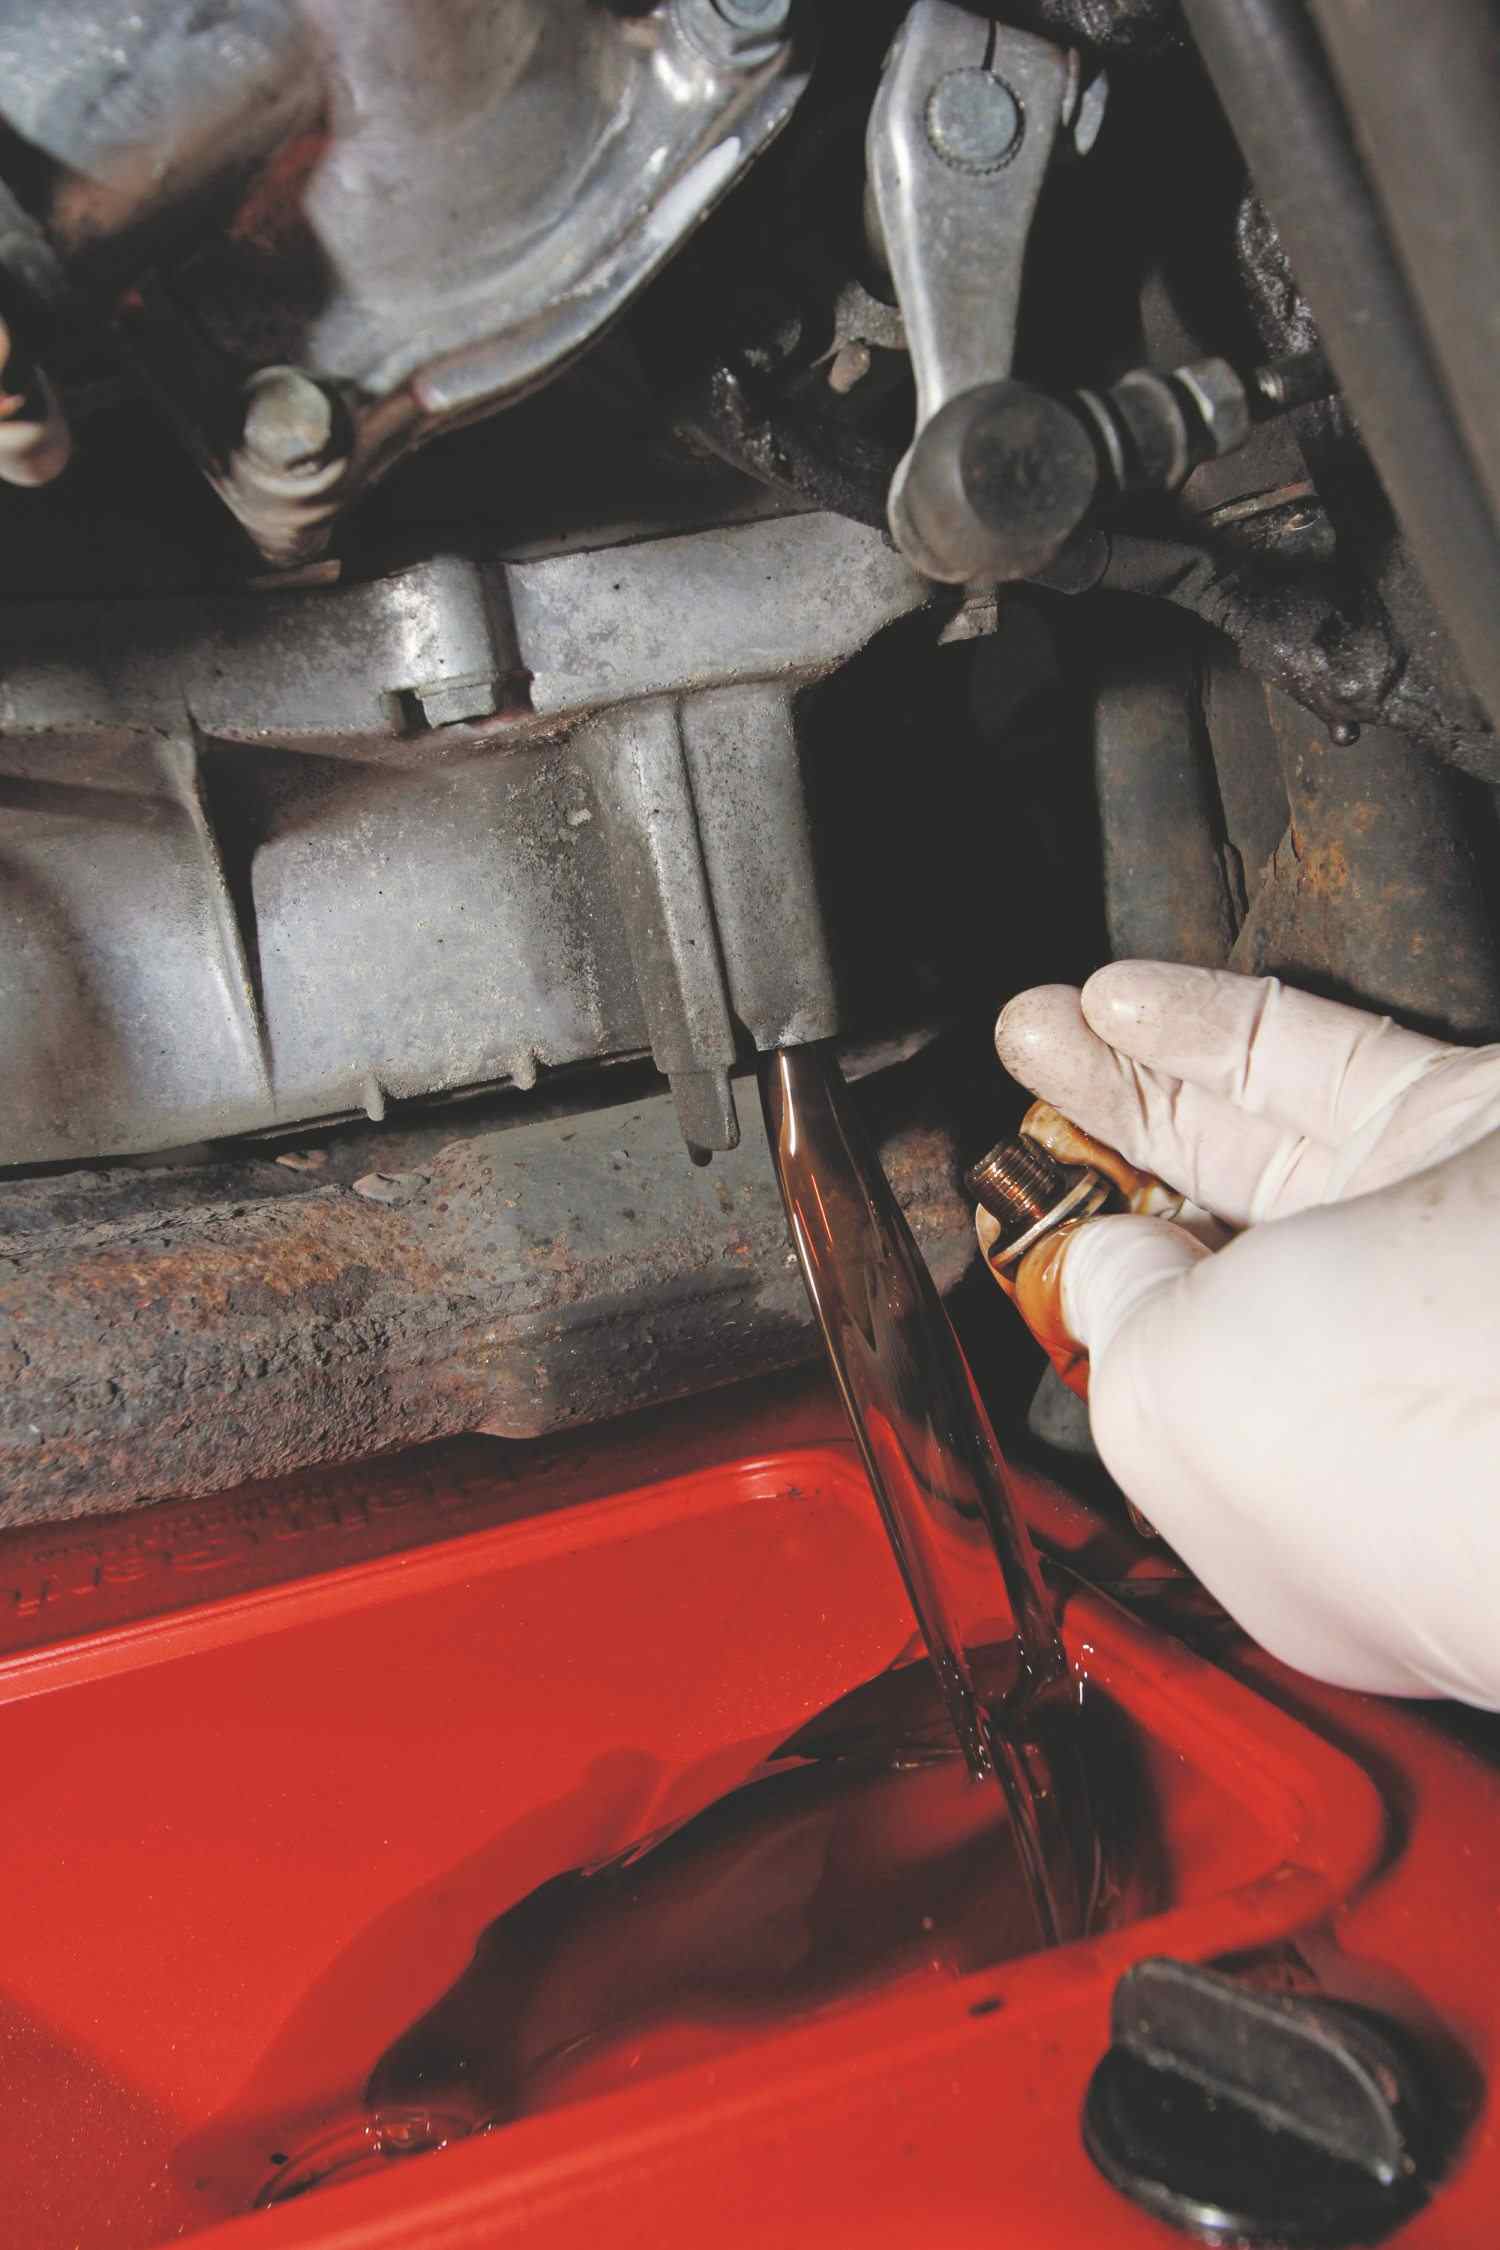
A service every year costs money, and that’s one thing a lot of us haven’t got much of, but oil’s the lifeblood of our bikes: it not only lubricates the engine’s internals, transmission and clutch, it’s a coolant, a cleaner, a sealant and a protectant.
Yes, a dealer-history is great, but if money’s tight, or you simply want the incredibly rewarding feeling of ‘doing it yourself’, then get the spanners ready. Nothing fills a potential buyer with confidence more than an owner with a raft of receipts, and a real understanding of how their bike works. After all, mechanical knowledge breeds mechanical sympathy.
What you’ll need
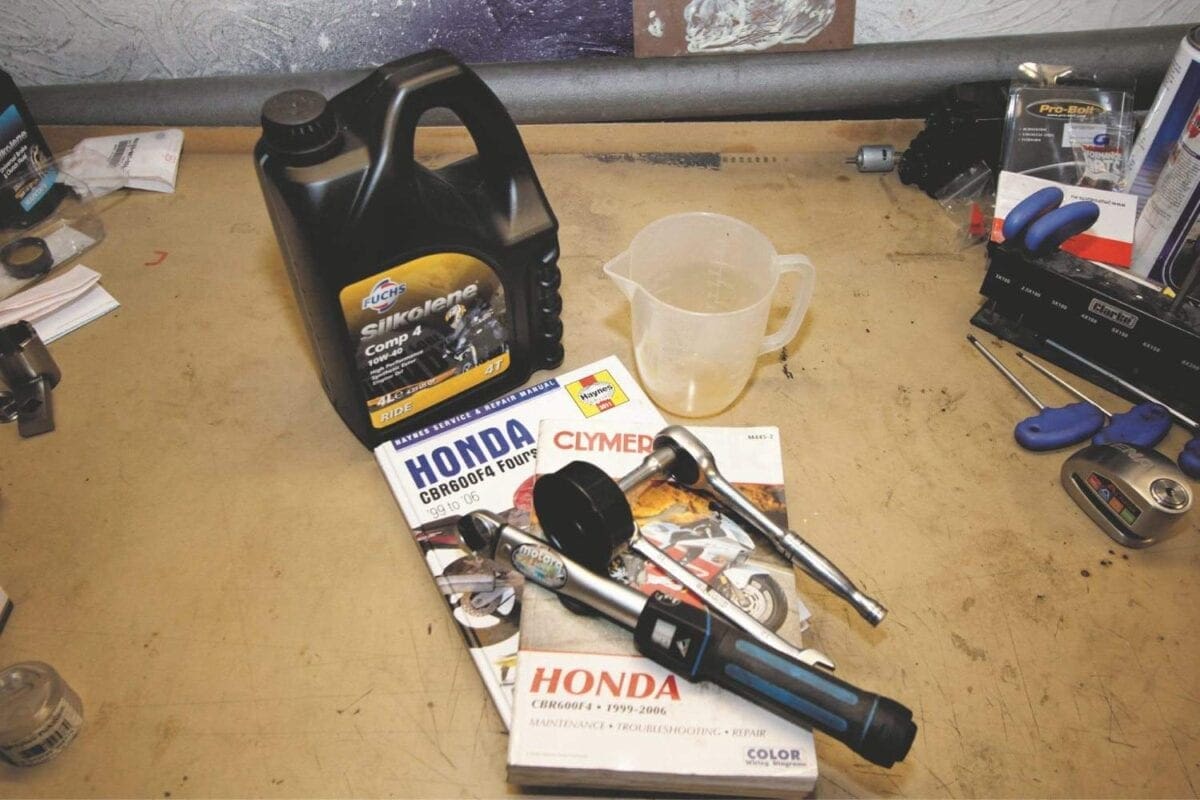
These articles are a guide to help show just how easy looking after your bike can be. Some of the jobs I’ll be doing I’ve done for years, and some I’ll admit to being very nervous about, until now. Investing in a workshop manual should be your first step, and being a bit obsessive, I like to use both Haynes and Clymer.
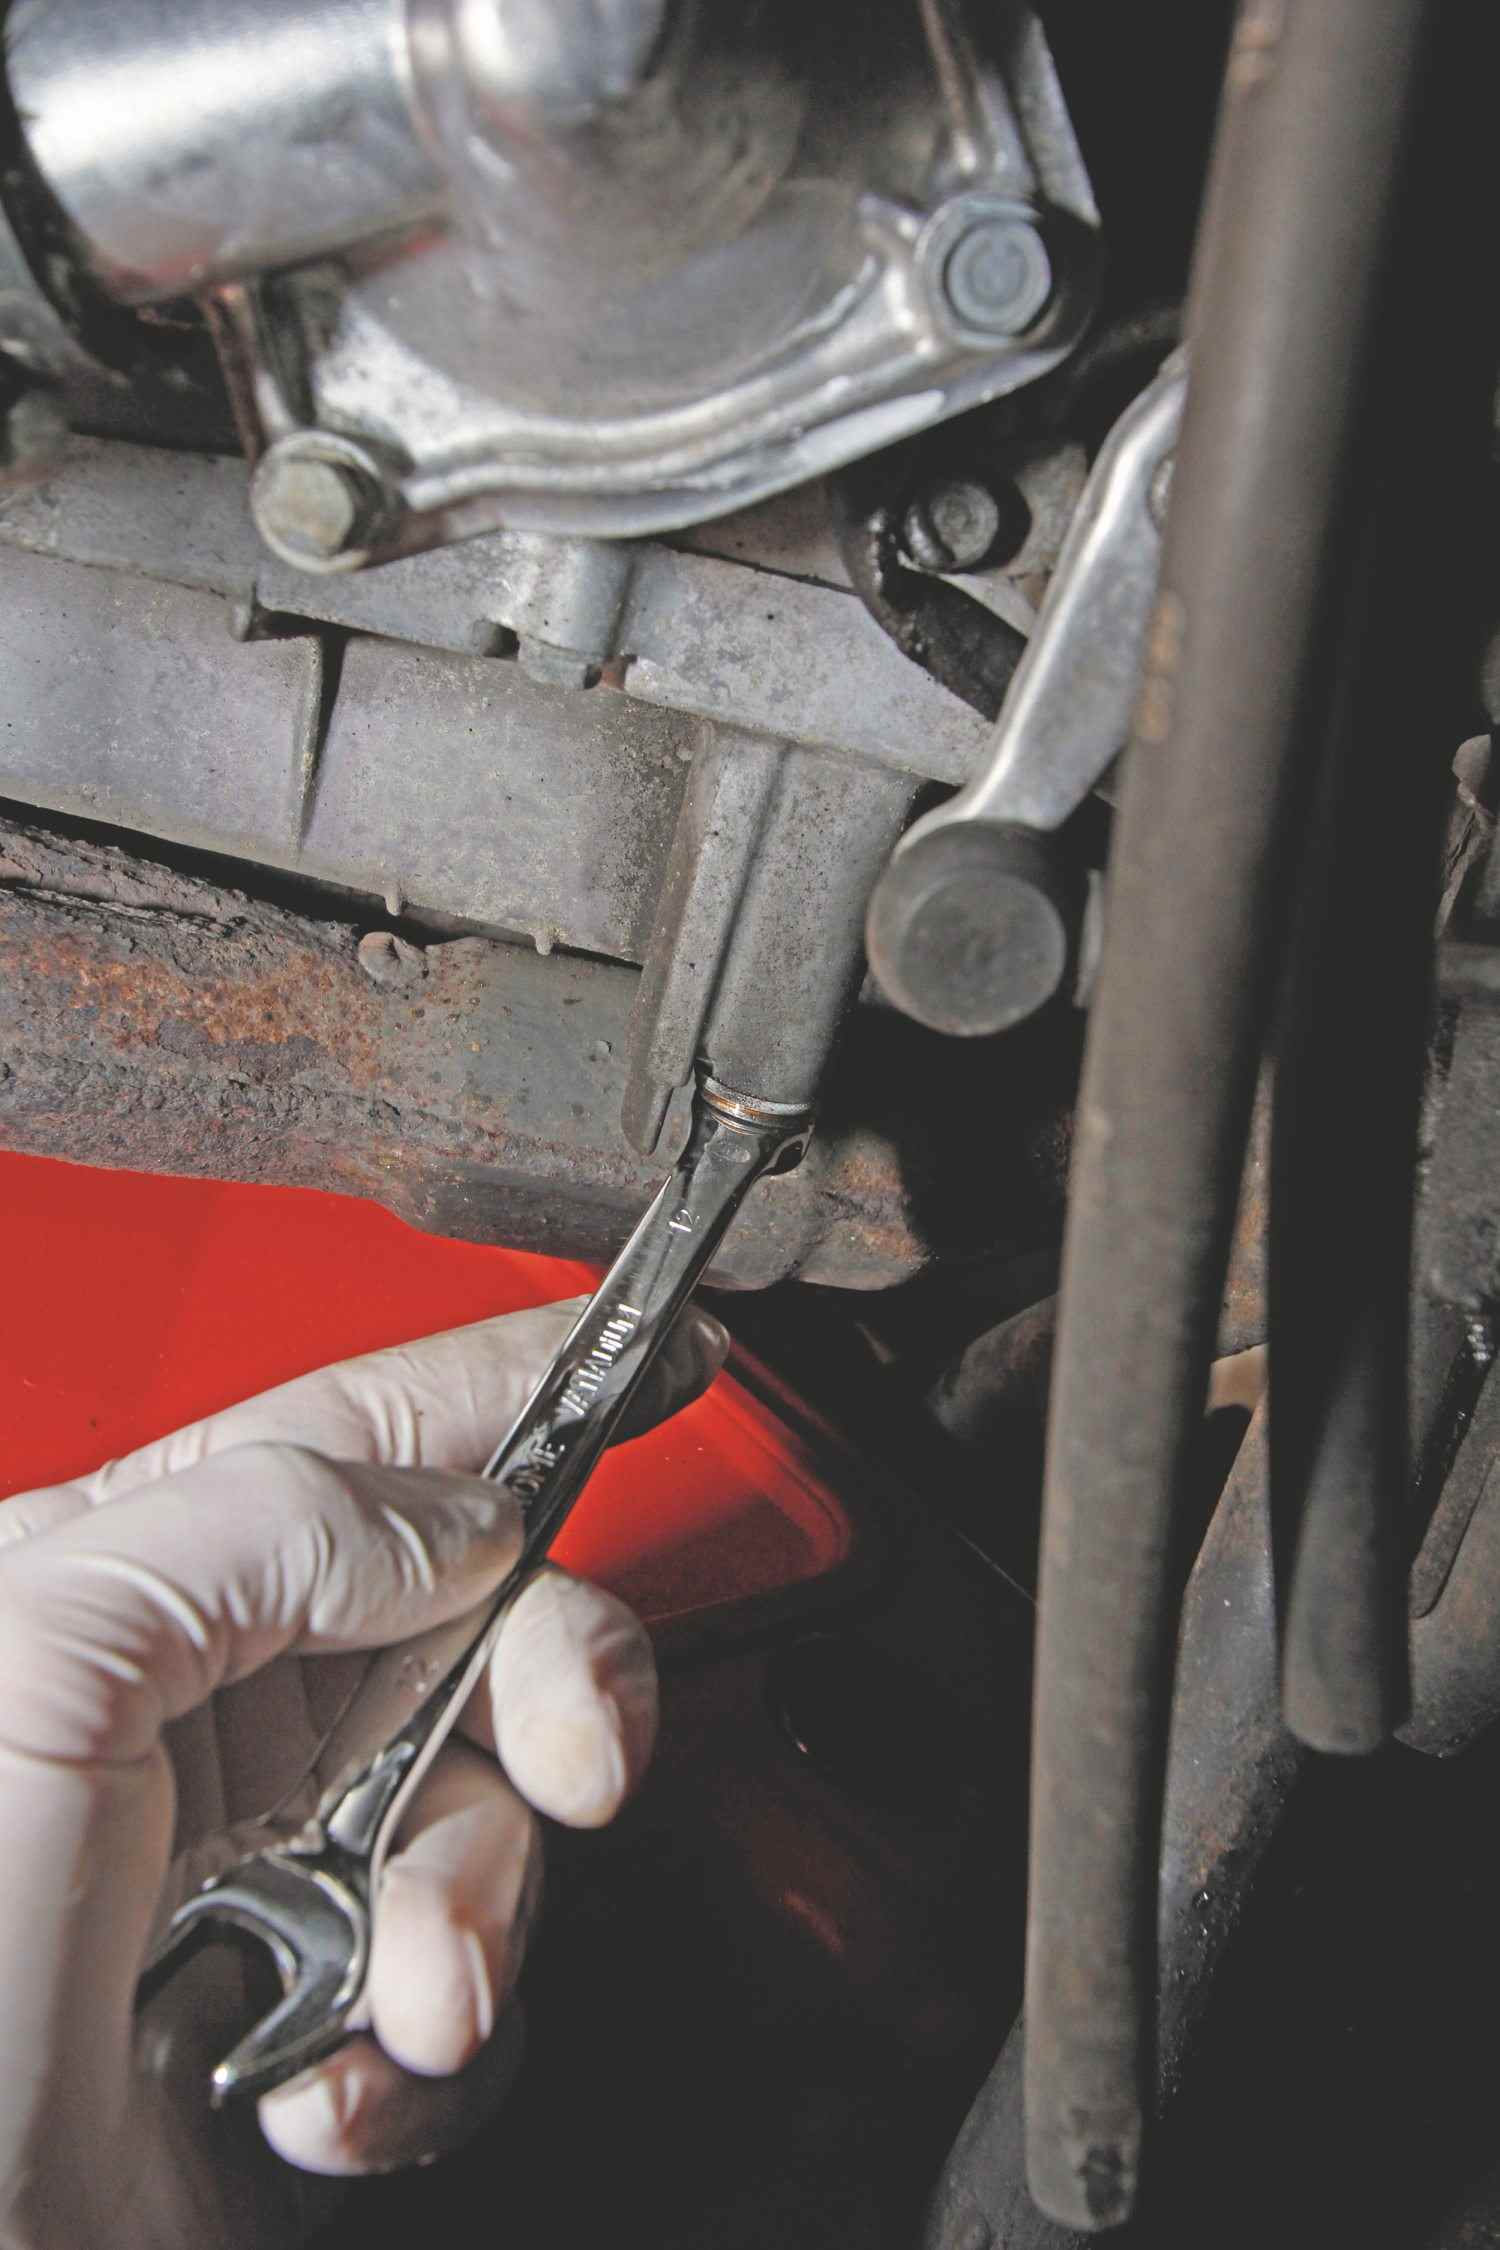
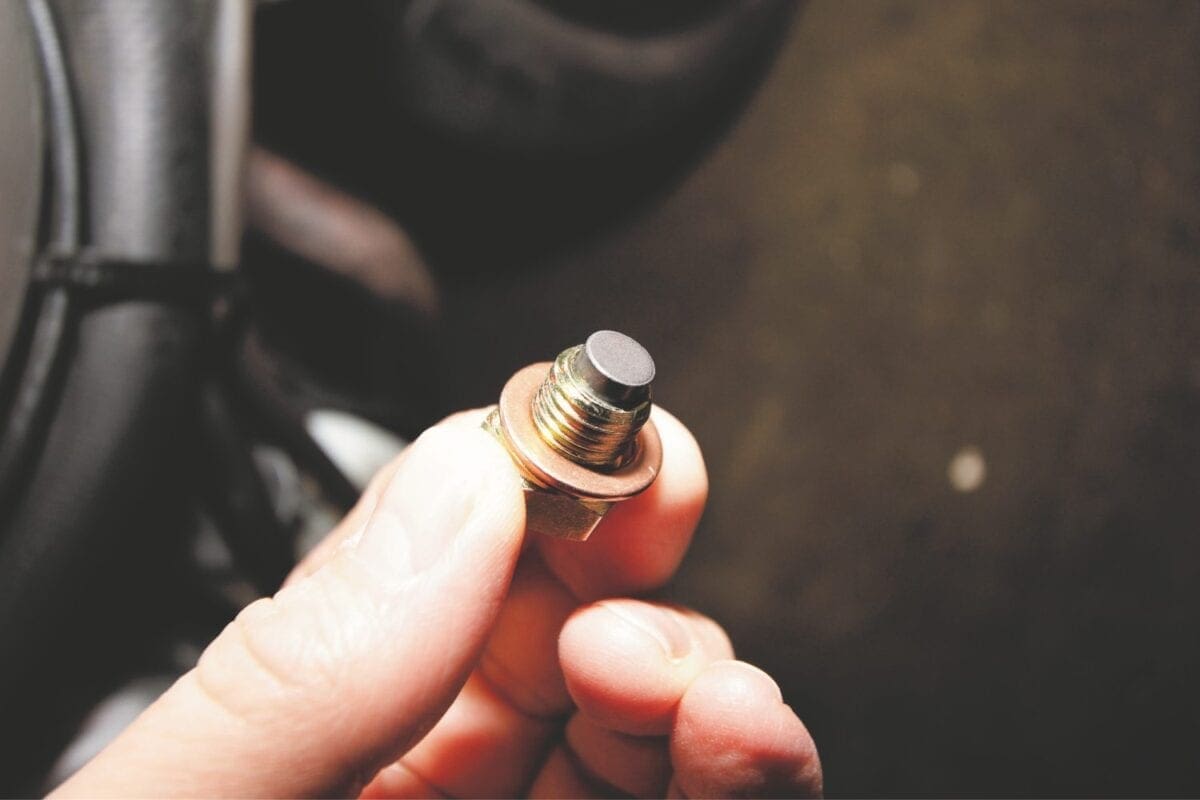
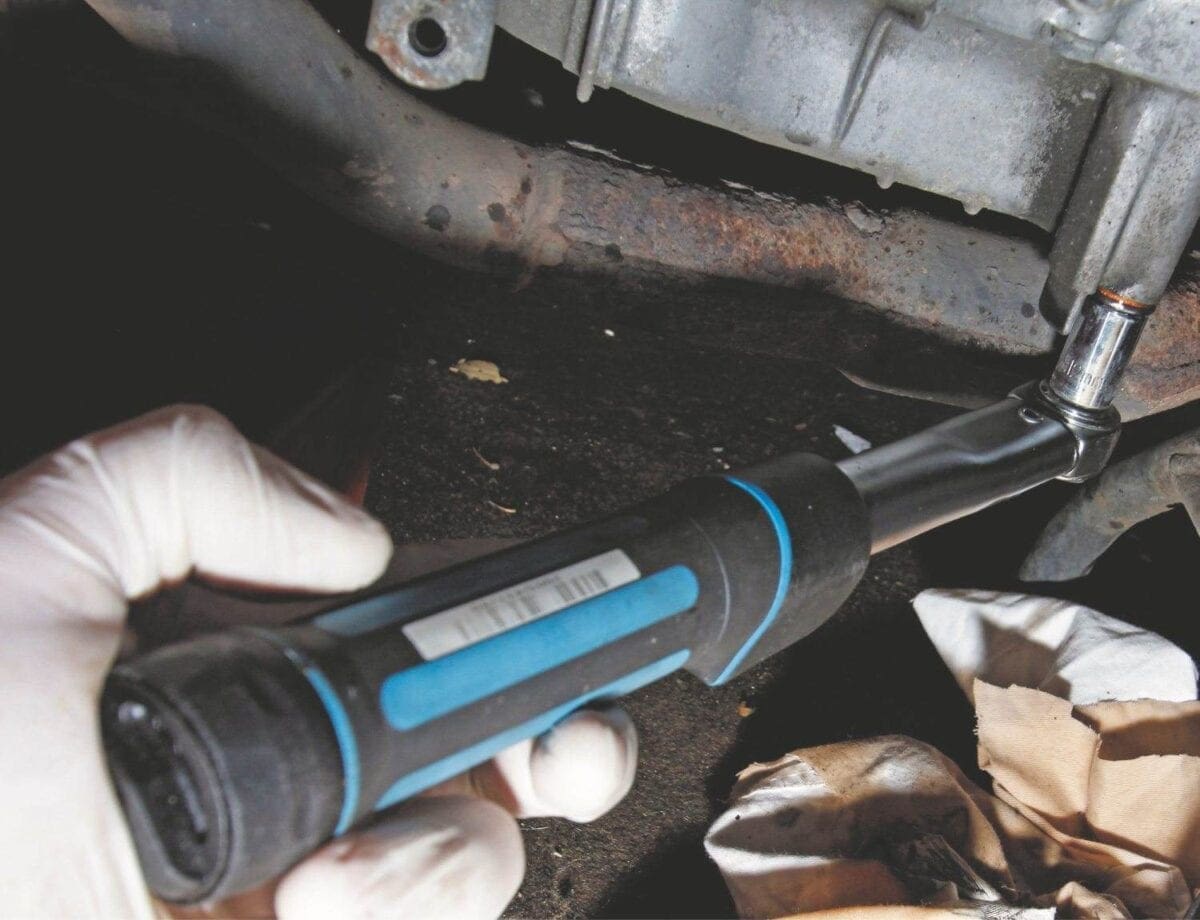
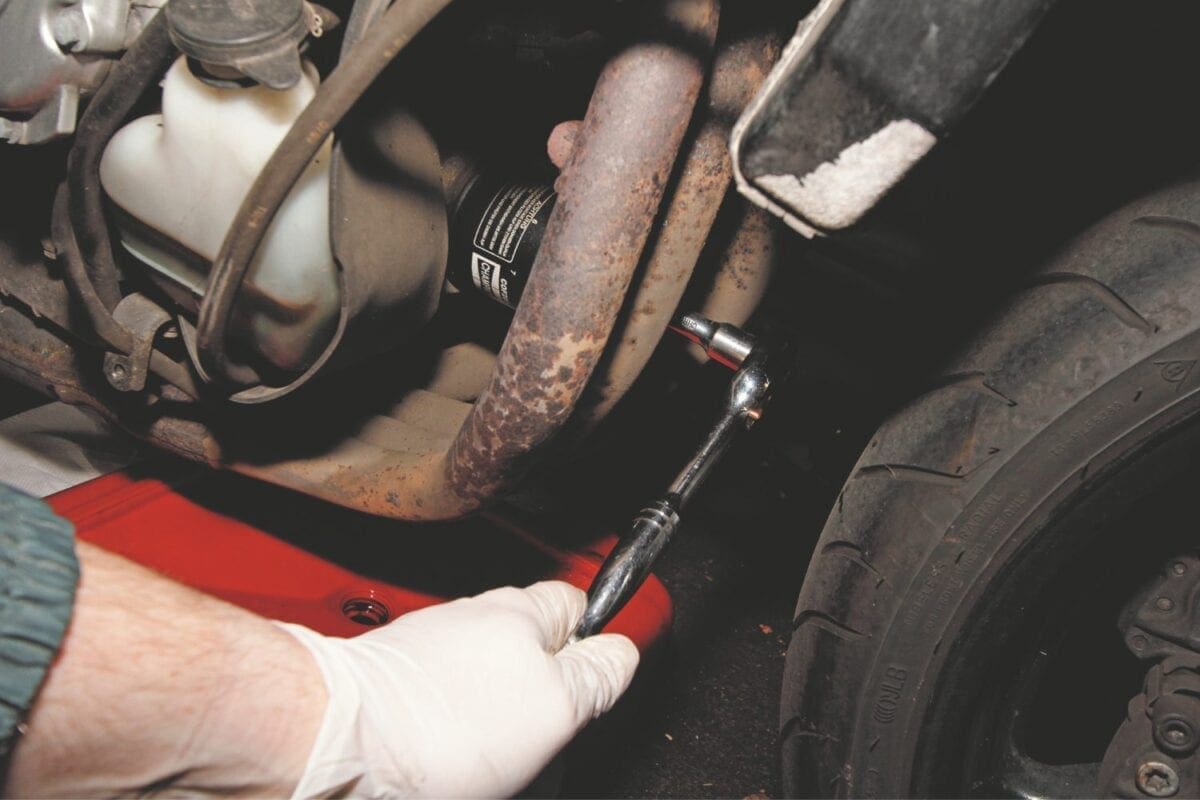
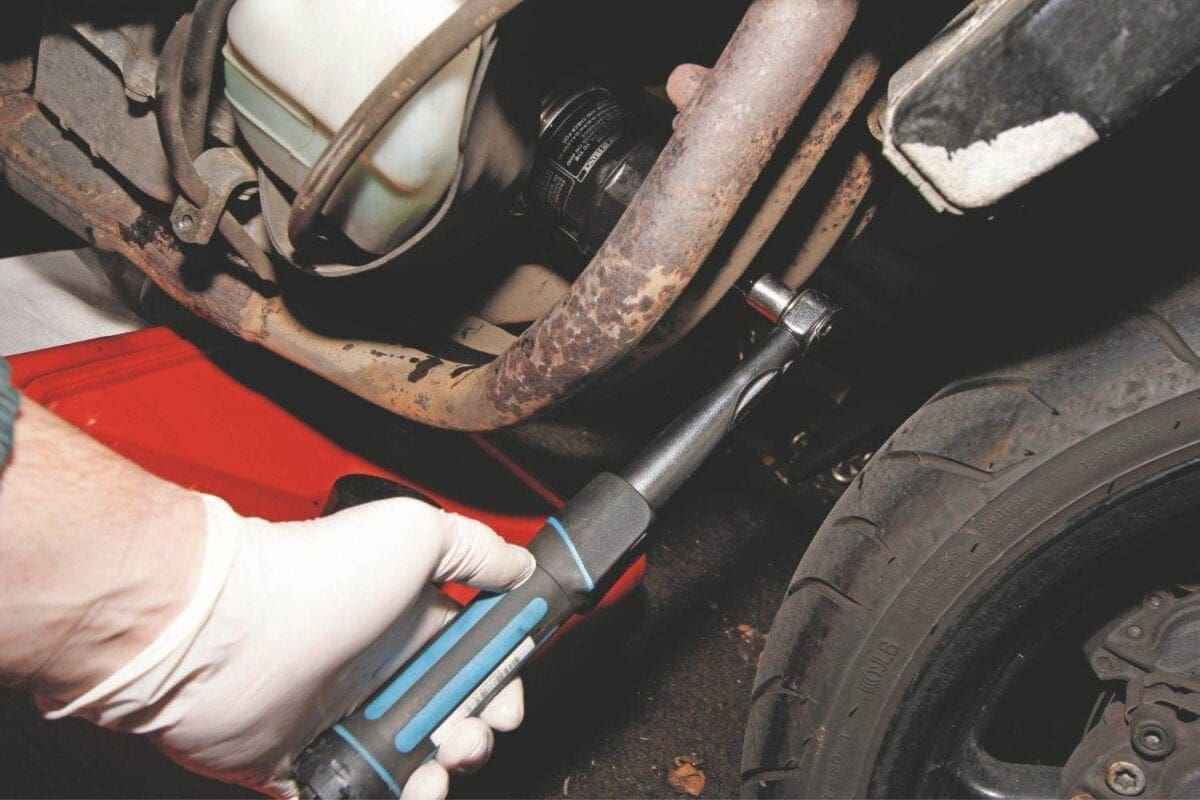
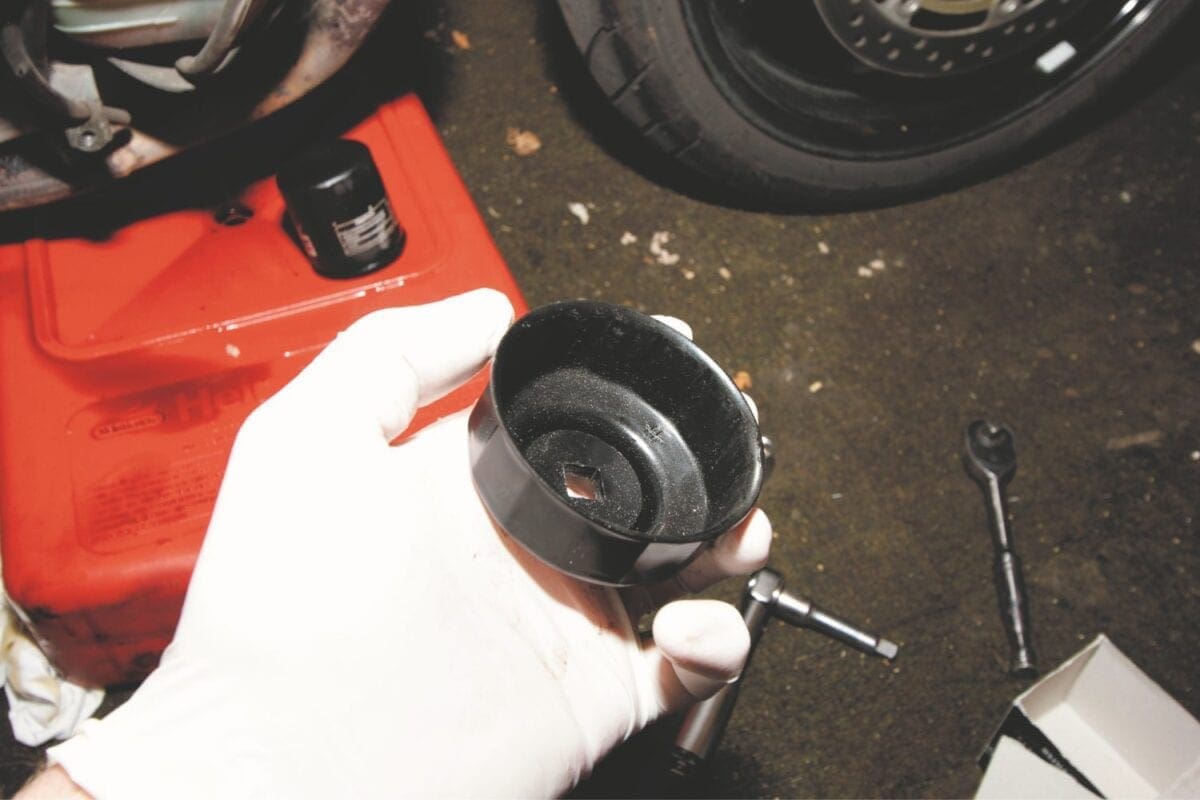 Otherwise, there are a couple of things I consider essential (besides the oil and filter of course)… An oil filter removal tool costs about a fiver, and simply cups over the filter, allowing you to use a socket-set to remove it, and a torque-wrench to replace it. A torque-wrench is expensive, but I consider it to be the most valuable tool in my garage. I have two, covering 8-60Nm, and 20-100Nm, but there are plenty of options around. The least I’ve needed on my CBR is 7Nm (I guessed, based on my wrench’s minimum) and the most is 93Nm, – check in your workshop manual to choose the best for your needs. A calibrated 3/8-drive wrench from Sealey, covering 10-100Nm costs £179.94. It might seem like a lot of money for such a simple task, but it’s a tool that should last a lifetime, and will be used on every job you do. It’ll also save you a fortune in sheared bolts and damaged studs (that’s the bitter voice of experience, as a teenager working on a MkII Ford Escort).
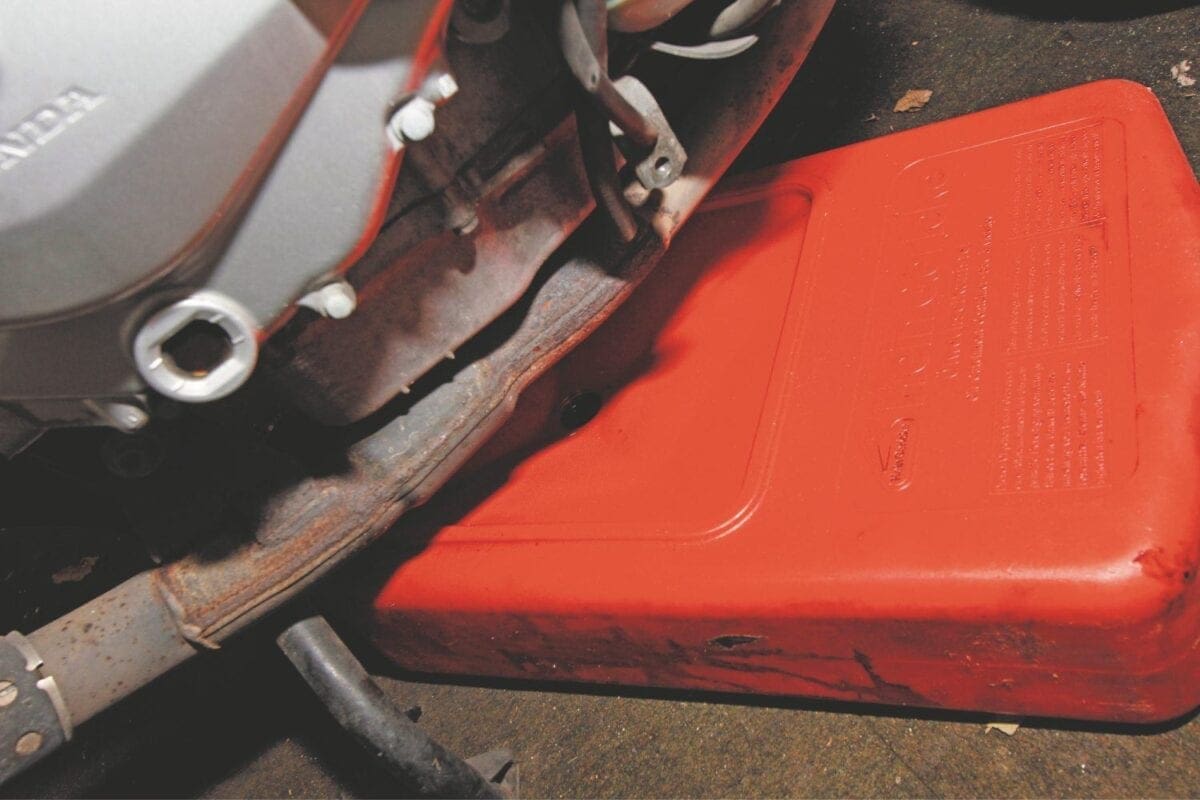
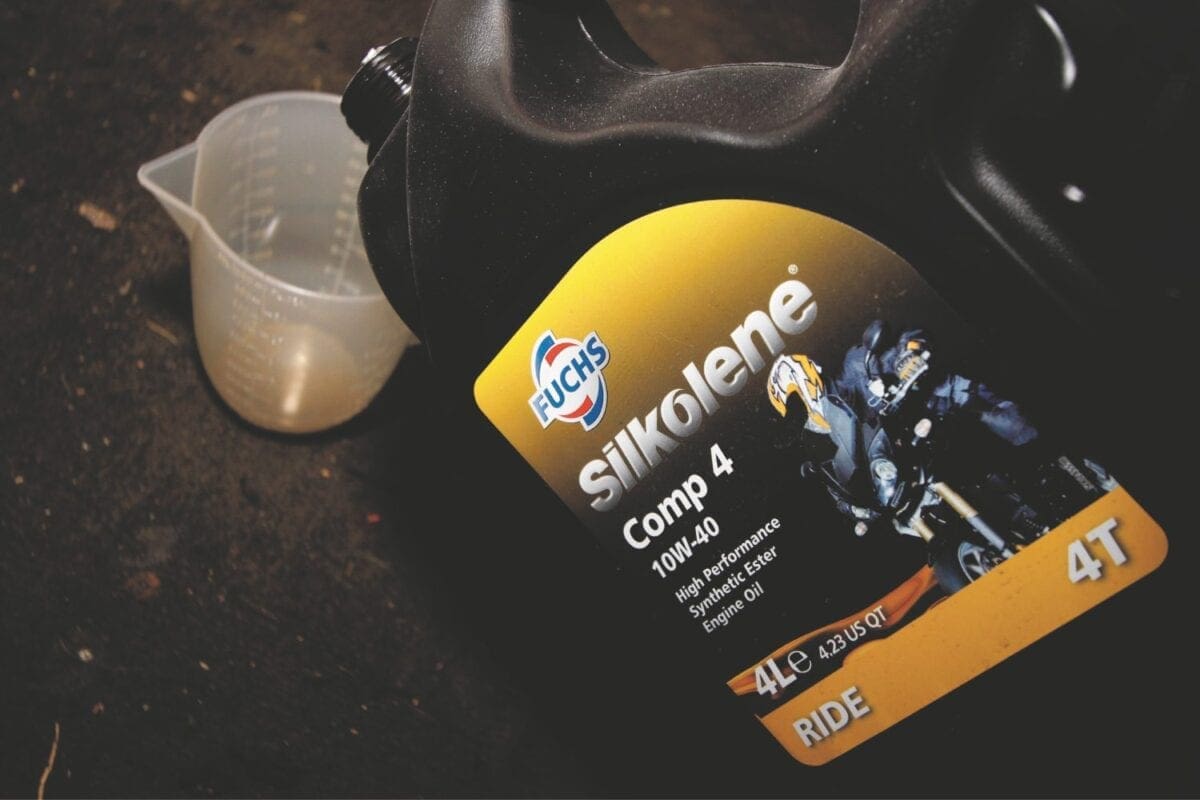
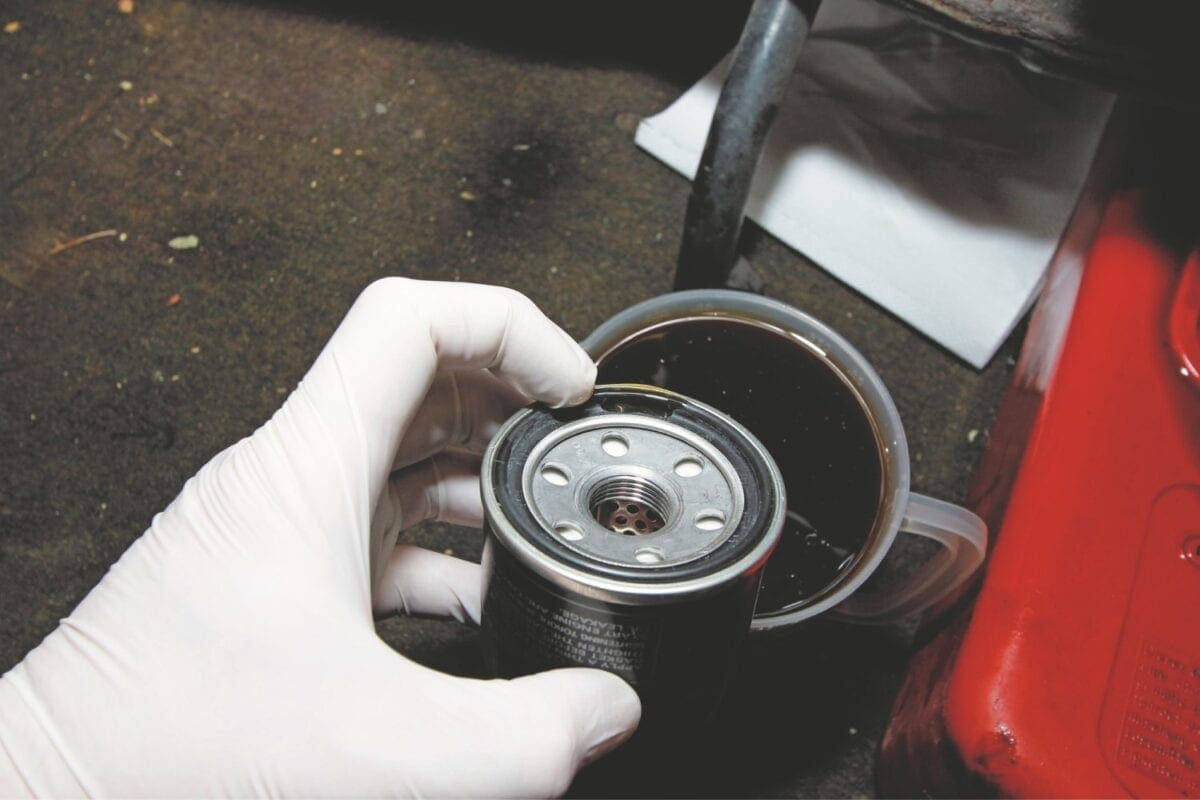
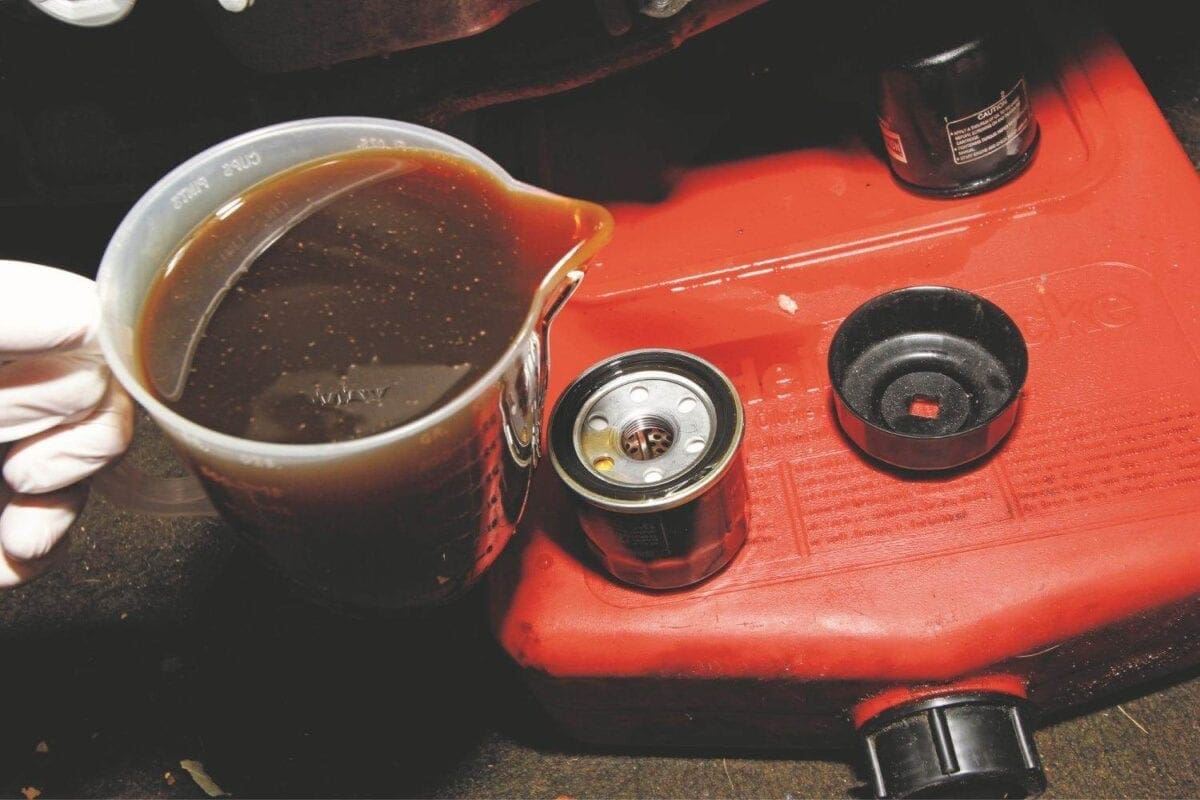
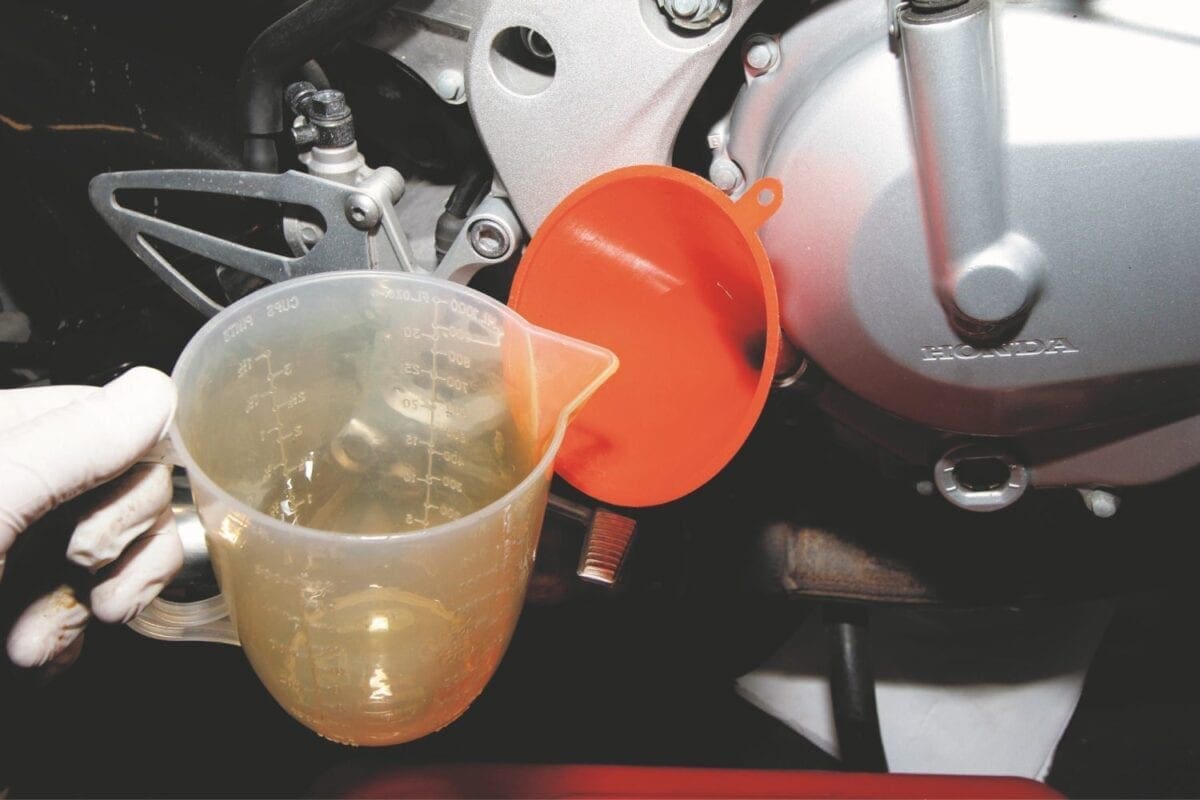
I always spend a little extra on premium quality oil (in this case, Silkolene’s Comp 4 10w40), and while you can get some great quality pattern filters from www.wemoto.com, I like to use genuine ones, as I think they look good when a buyer checks out your bike.
Let’s get spannering…
For a great range of parts and spares, check out www.wemoto.com, or call 01273 597072
Advert
Enjoy everything More Bikes by reading the MoreBikes monthly newspaper. Click here to subscribe, or Read FREE Online.