
To balance carbs (or synchronise the carburettors) on your bike is simply the process of adjusting the throttle bodies so they pass the same amount of air and fuel mixture to each cylinder. It’s important because a well set-up fuel system will help the bike start easily, run smoothly, and be more efficient. Along with improved throttle response, and a cooler running engine, the benefits make it well worth the effort.
Despite many owners taking their bikes to a mechanic to have the work done, it’s actually surprisingly simple, and the cost of a good quality balancer is less than the labour charge from a main dealer.
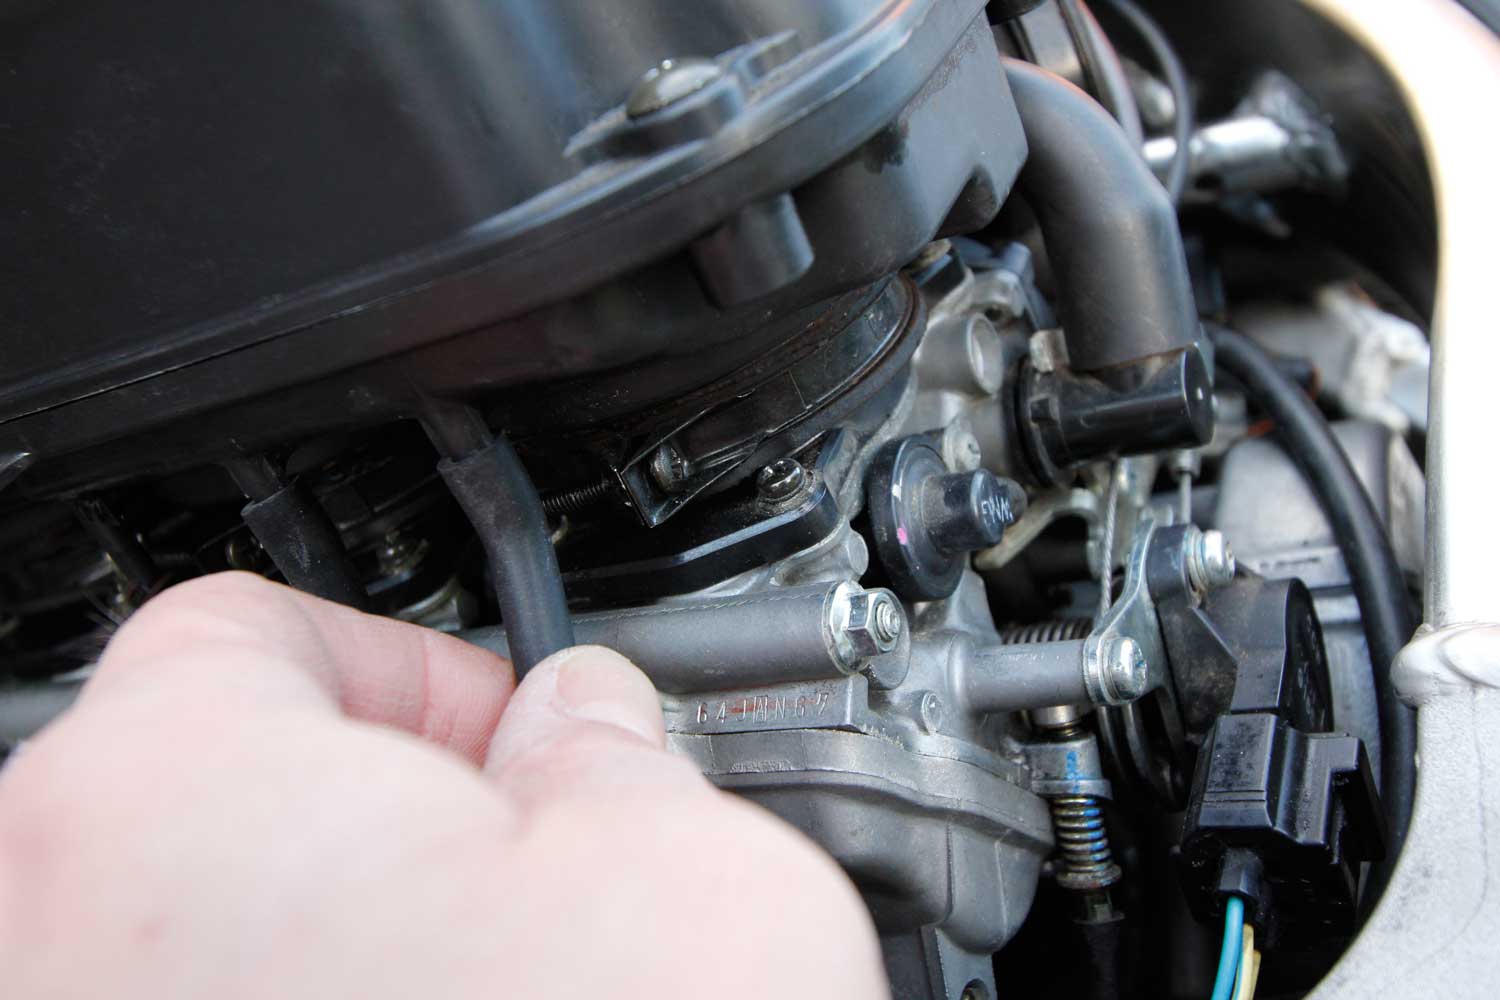
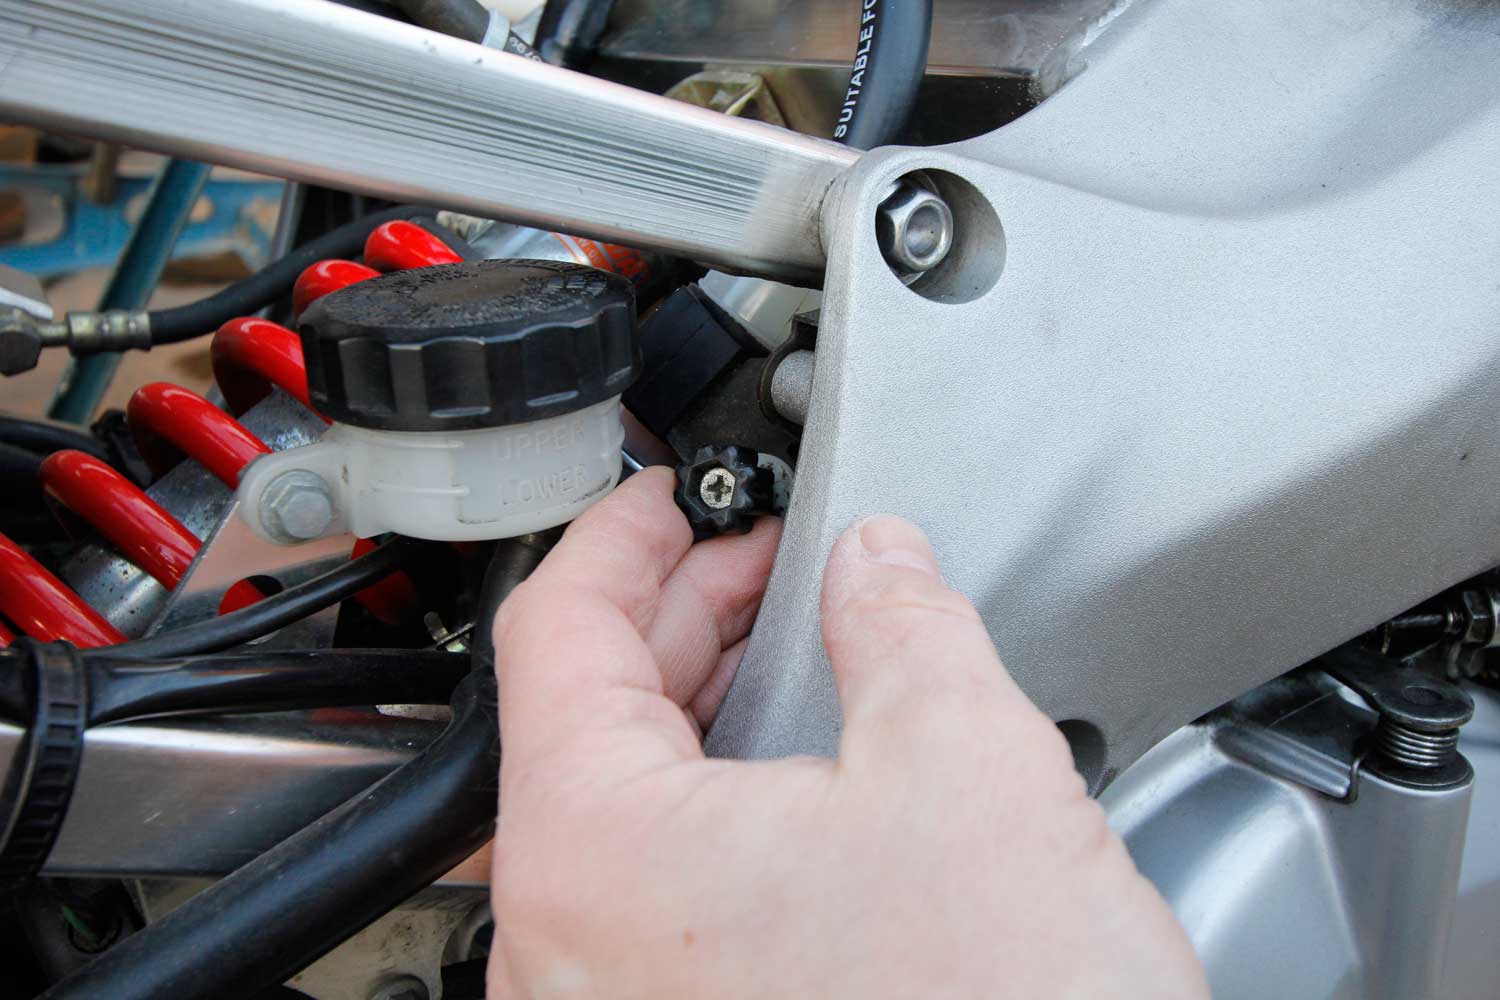
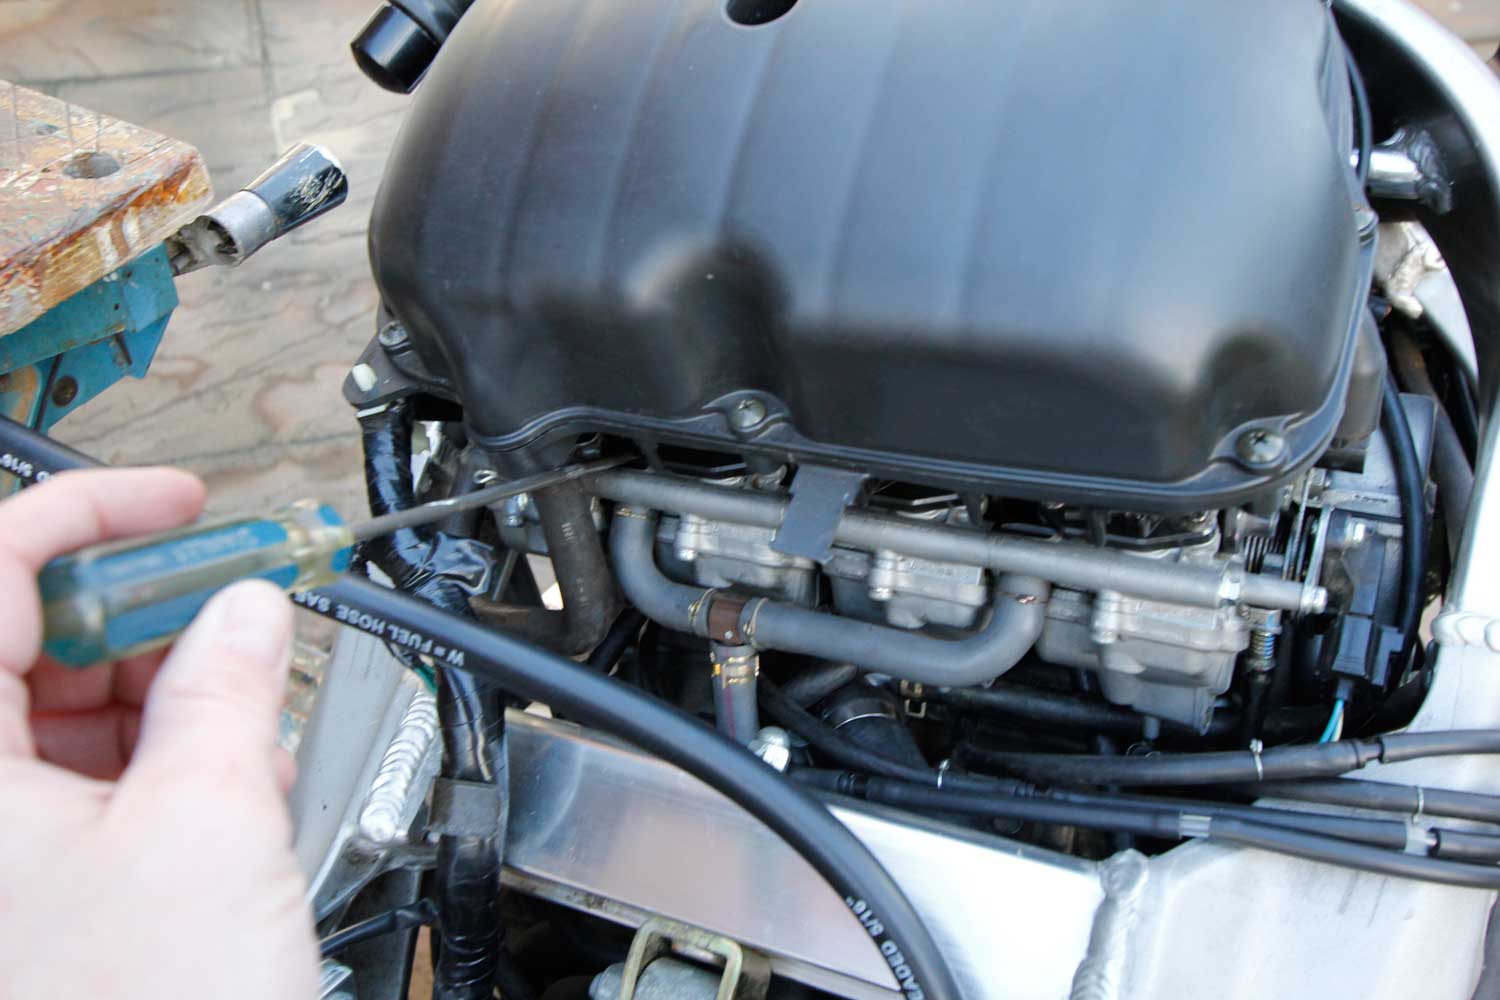
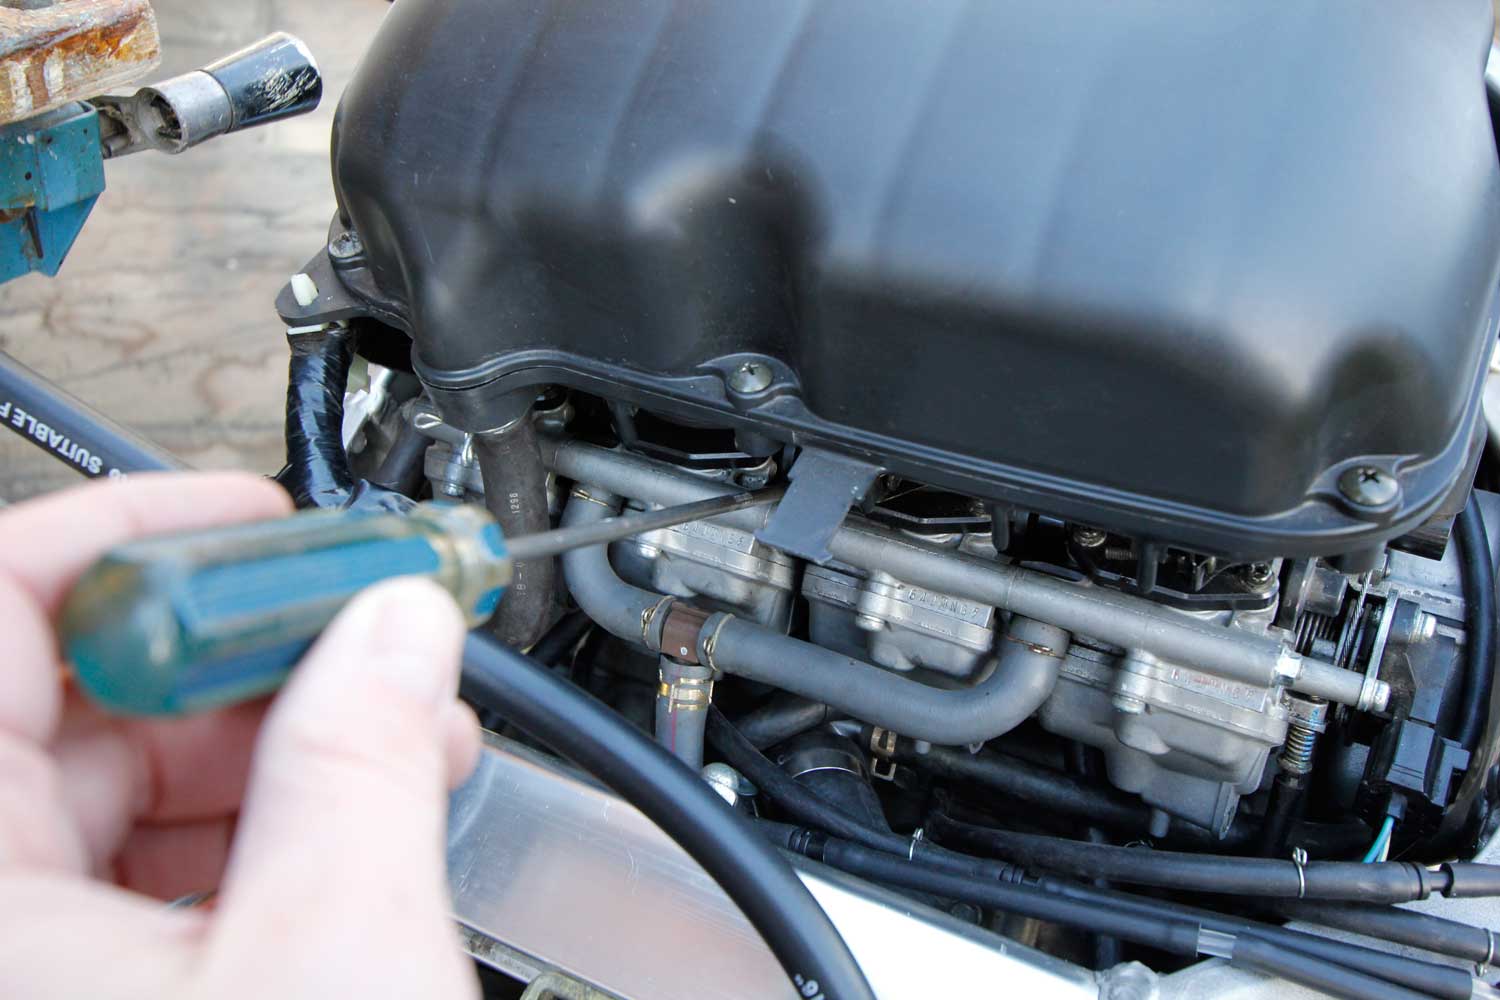
The adjustments on my CBR are carried out by three screws that alter the throttle openings for bodies one to three, relative to the throttle position of the fourth body (going from left to right as you sit on the bike).
Enjoy everything More Bikes by reading the monthly newspaper, Read FREE Online.
The fourth carb is directly attached to the throttle, and the third is adjusted relative to this via a small sprung screw between the two units. These form a pair of carbs. The first and second carbs are adjusted relative to each other by another screw, forming the second pair, then these two pairs are balanced against by a screw in the middle of the bank of carbs.
This is one of those jobs that makes more sense as you do it, and is surprisingly easy. In fact, I filmed myself doing it for the first time, which took just five minutes:
If you’ve got a newer fuel-injected bike, don’t assume that this is all irrelevant to you. Synchronising the fuel mixture is just as important, and the process is largely the same. Regardless of what machine you own, investing in a Haynes and/or Clymer workshop manual is well worthwhile, and will guide you through the steps specific to your bike.
Before you start
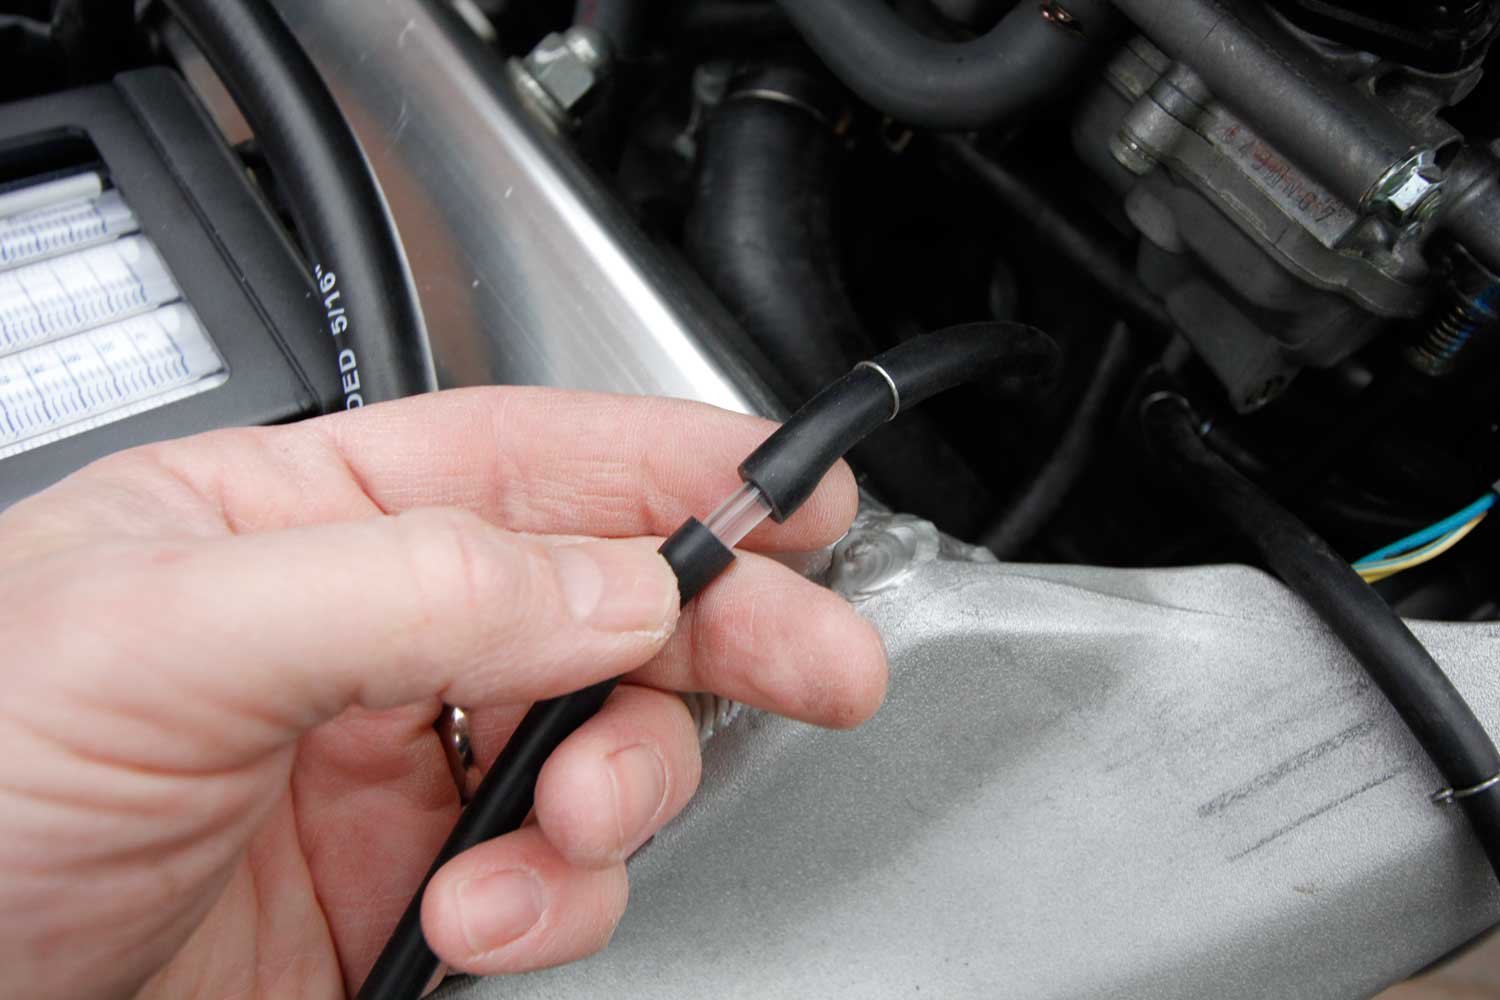
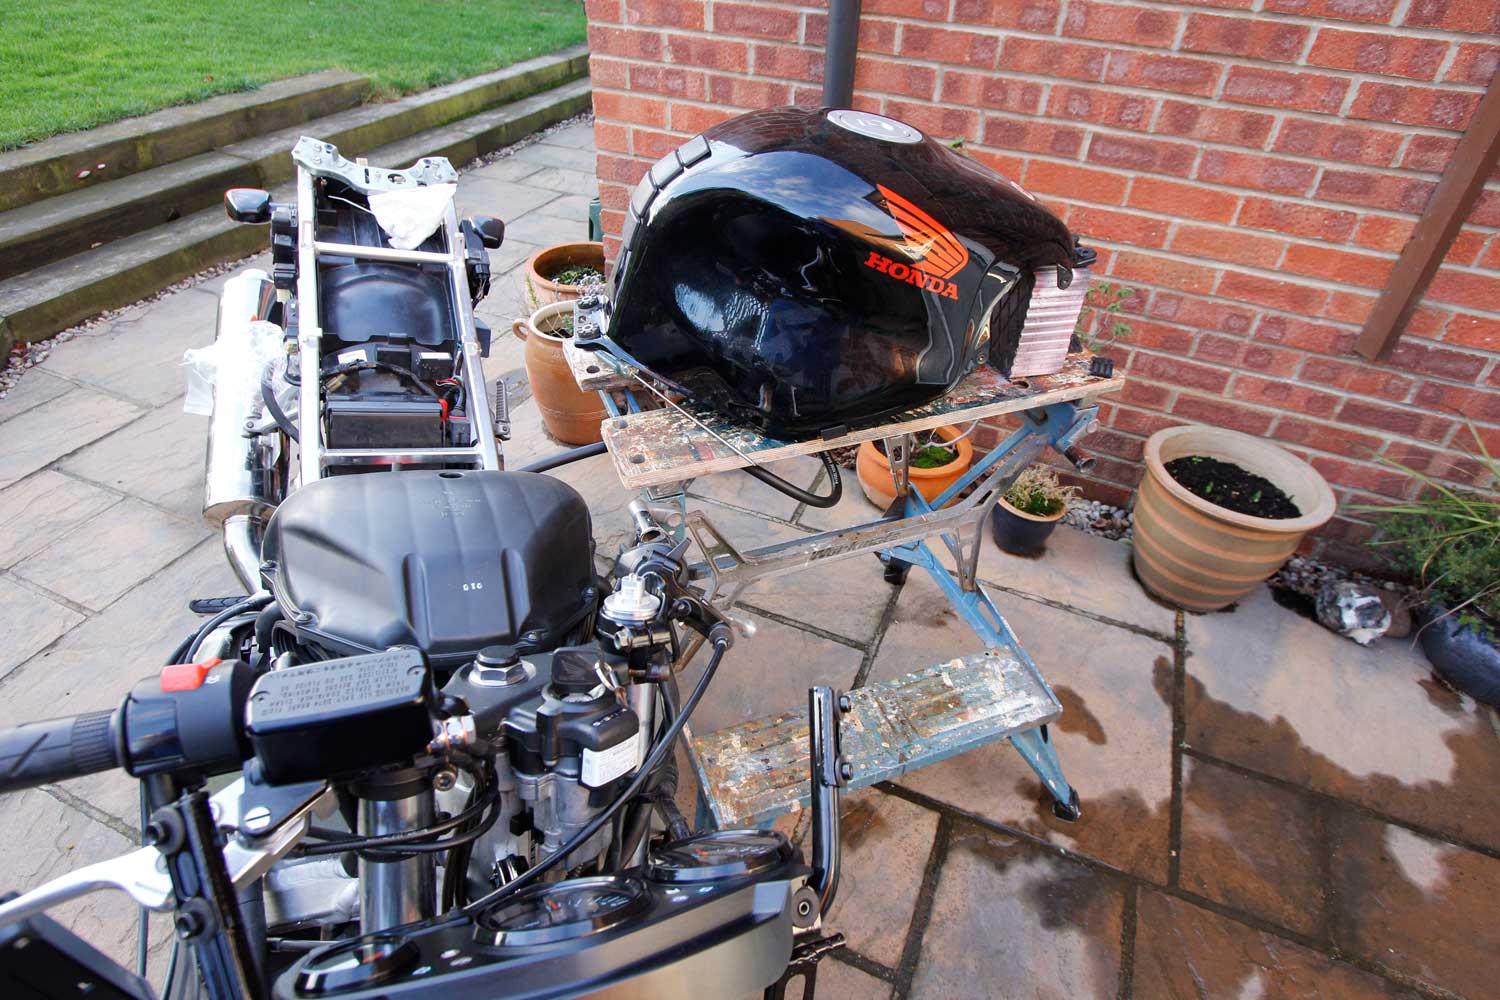
Balancing the carbs should be done when the bike is fully serviced – the air filter should be clean, and the valve clearances should have been checked. Anything that affects how the cylinders suck fuel in is going to skew your results. While you have the tank off, also check and replace any perished or split pipes that could cause an air leak.
As you need the engine running for this job, it’s best done outside, as plenty of ventilation is very important for your safety.
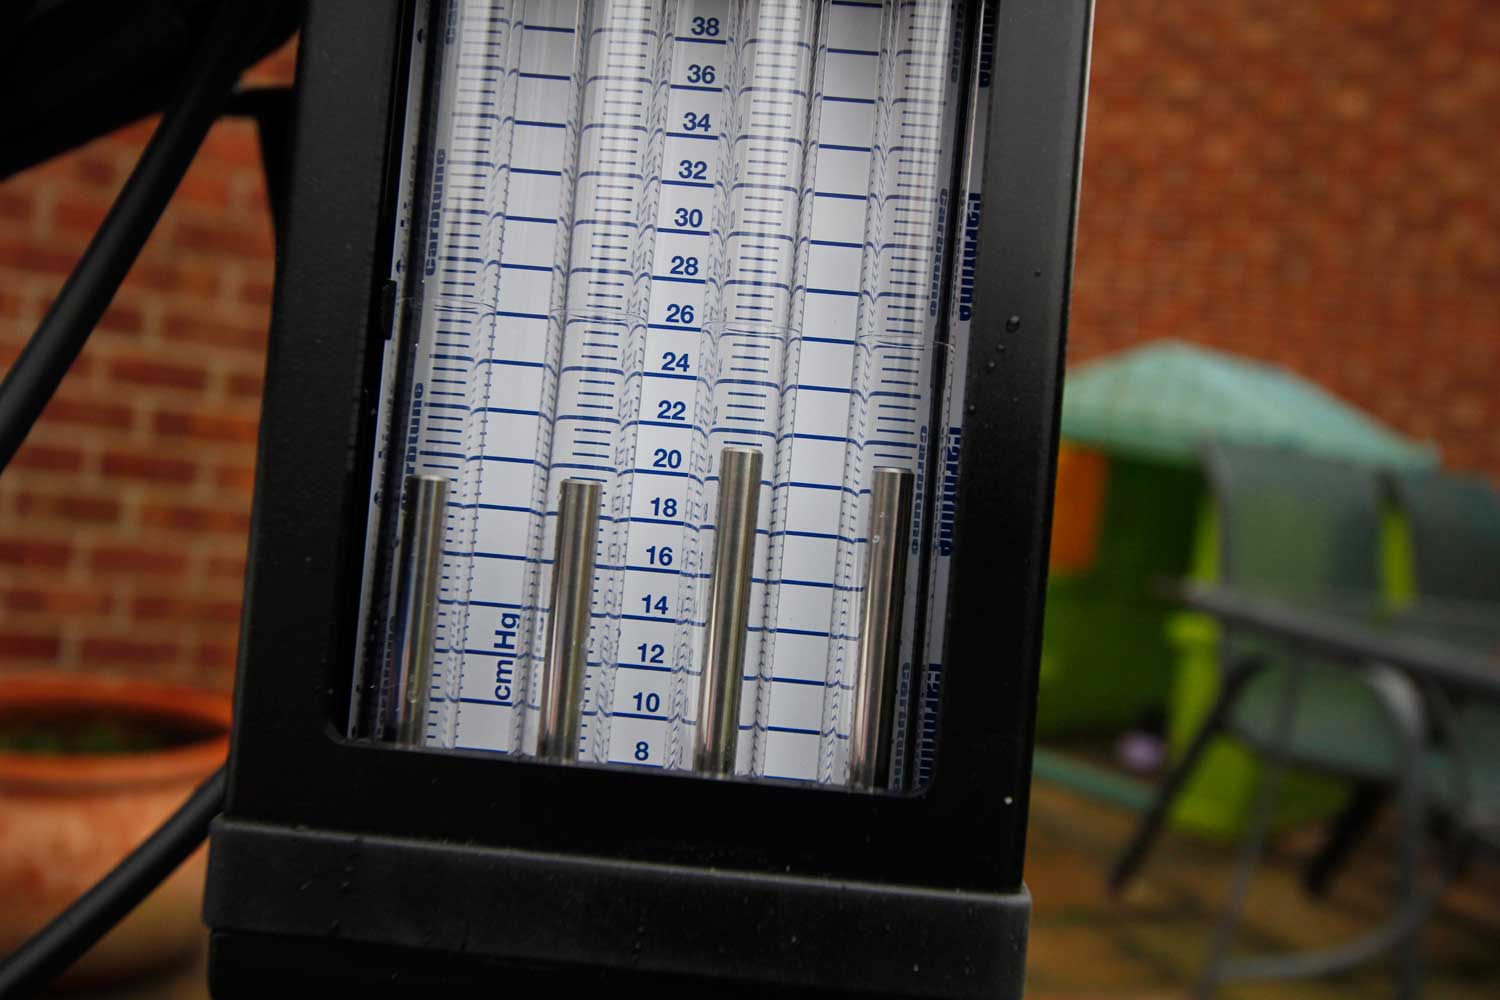
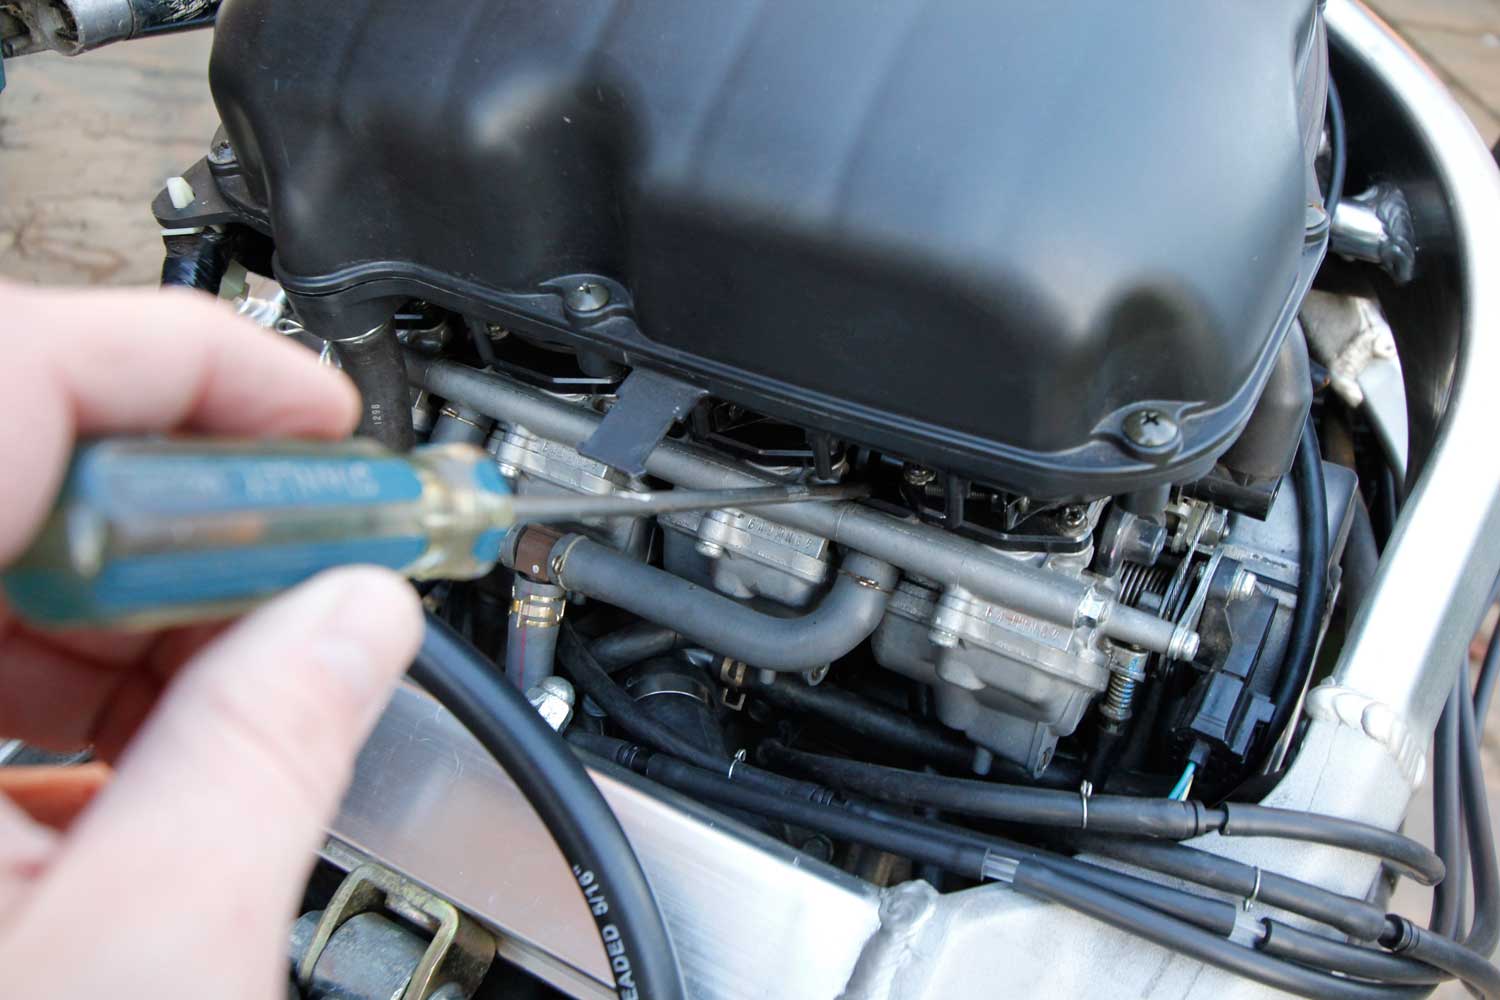
Try to put as little pressure as possible on the screwdriver as you make any adjustments, and always take it away from the screw, and ‘blip’ the throttle before taking your reading.

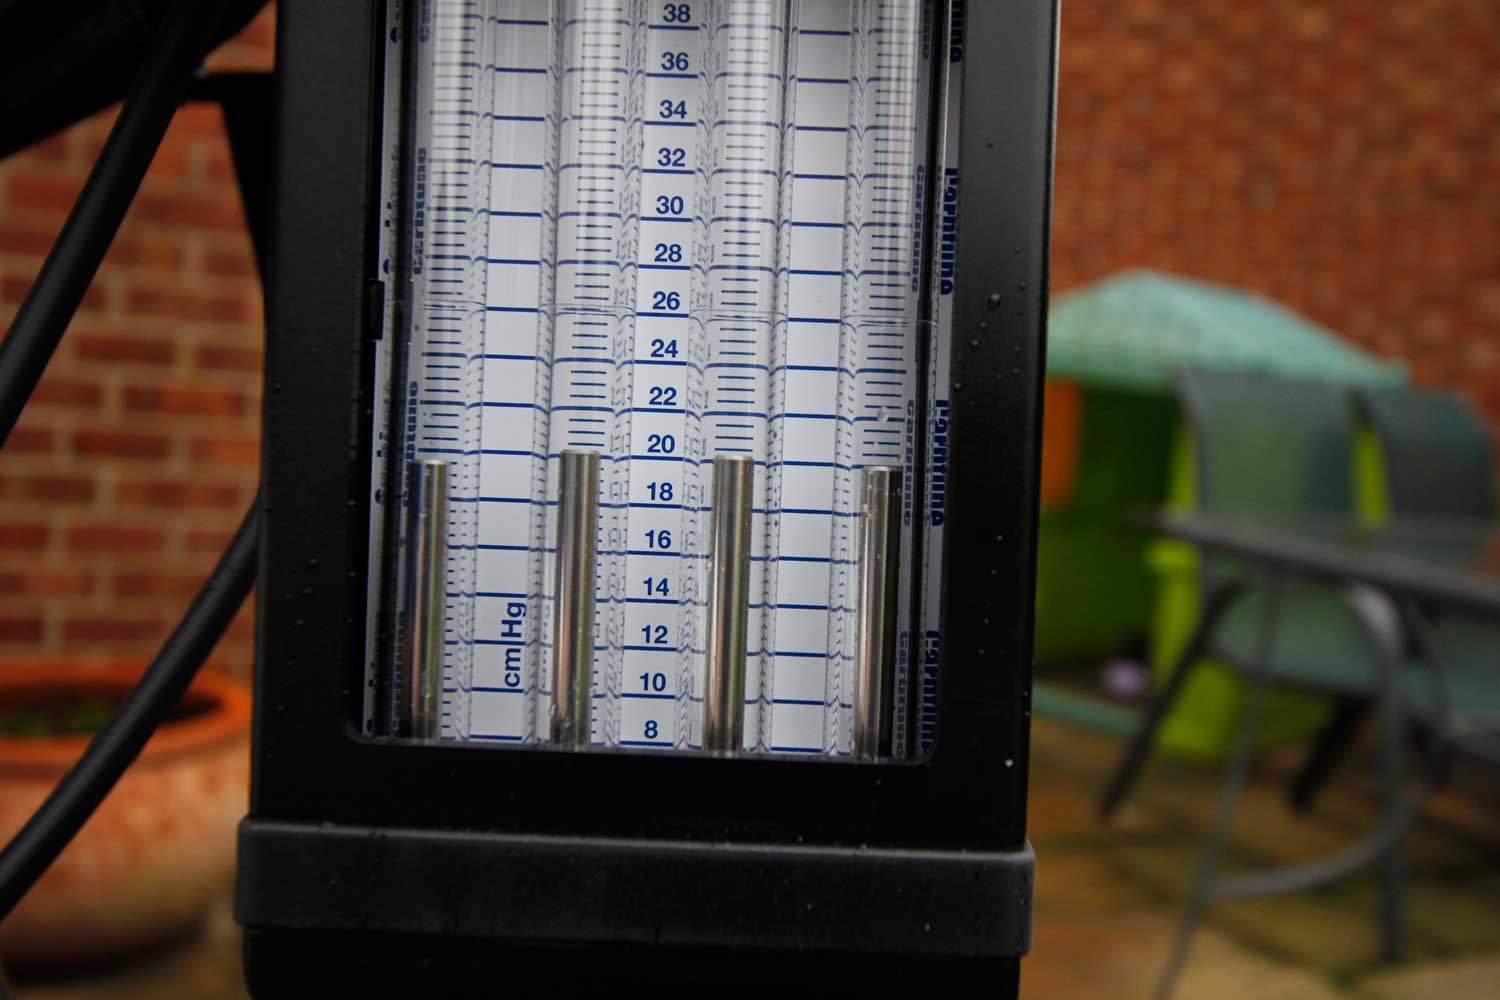
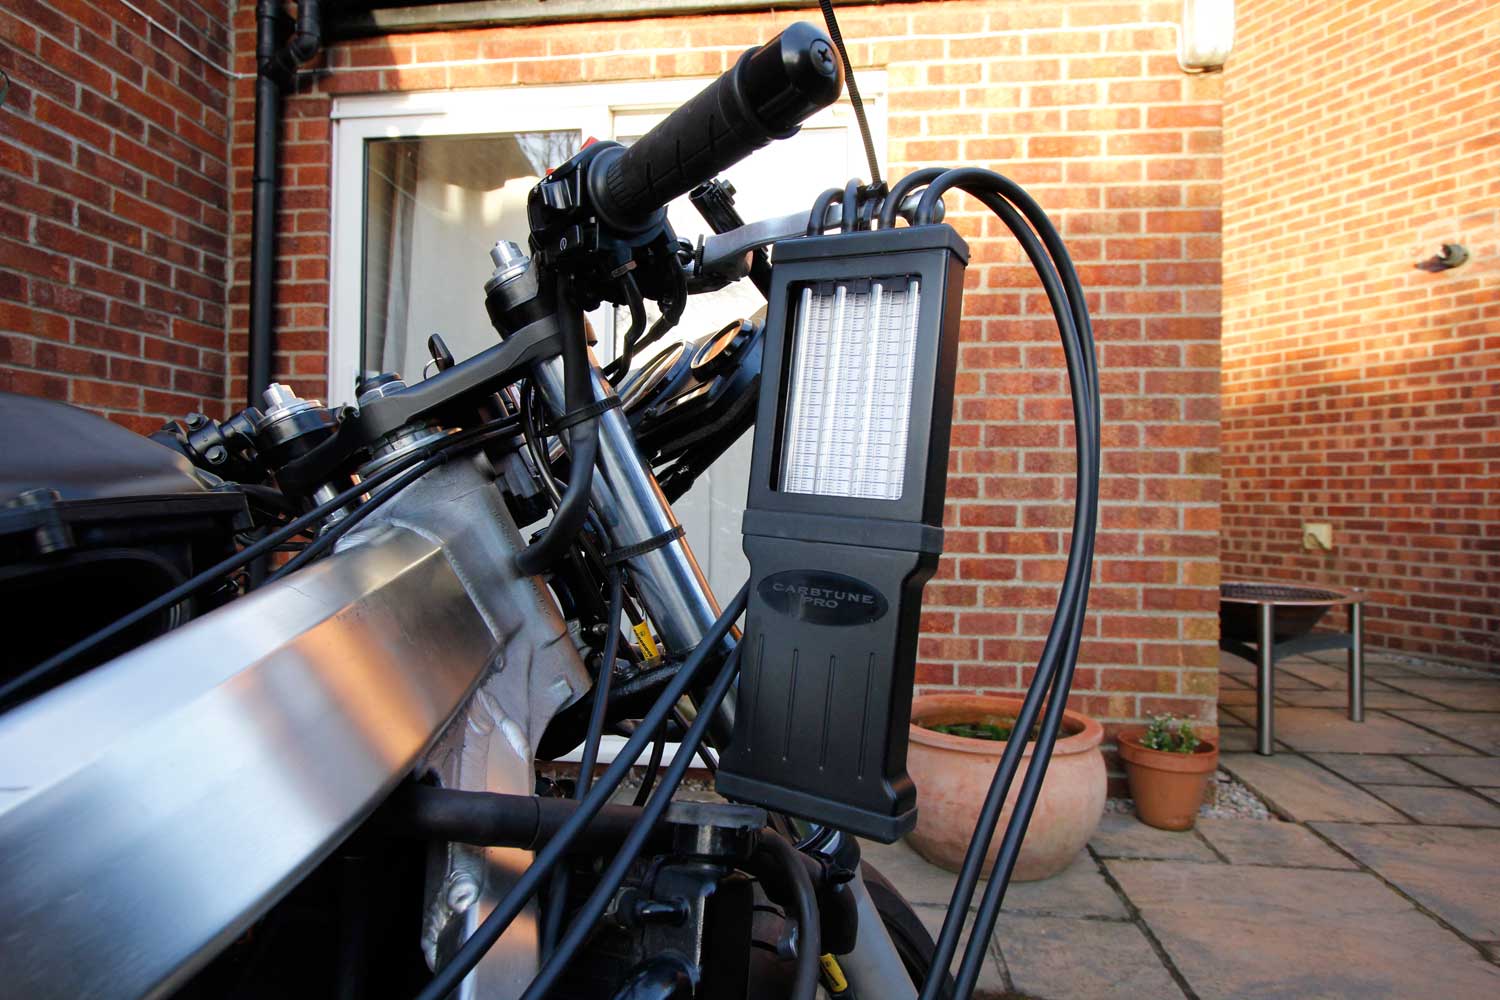
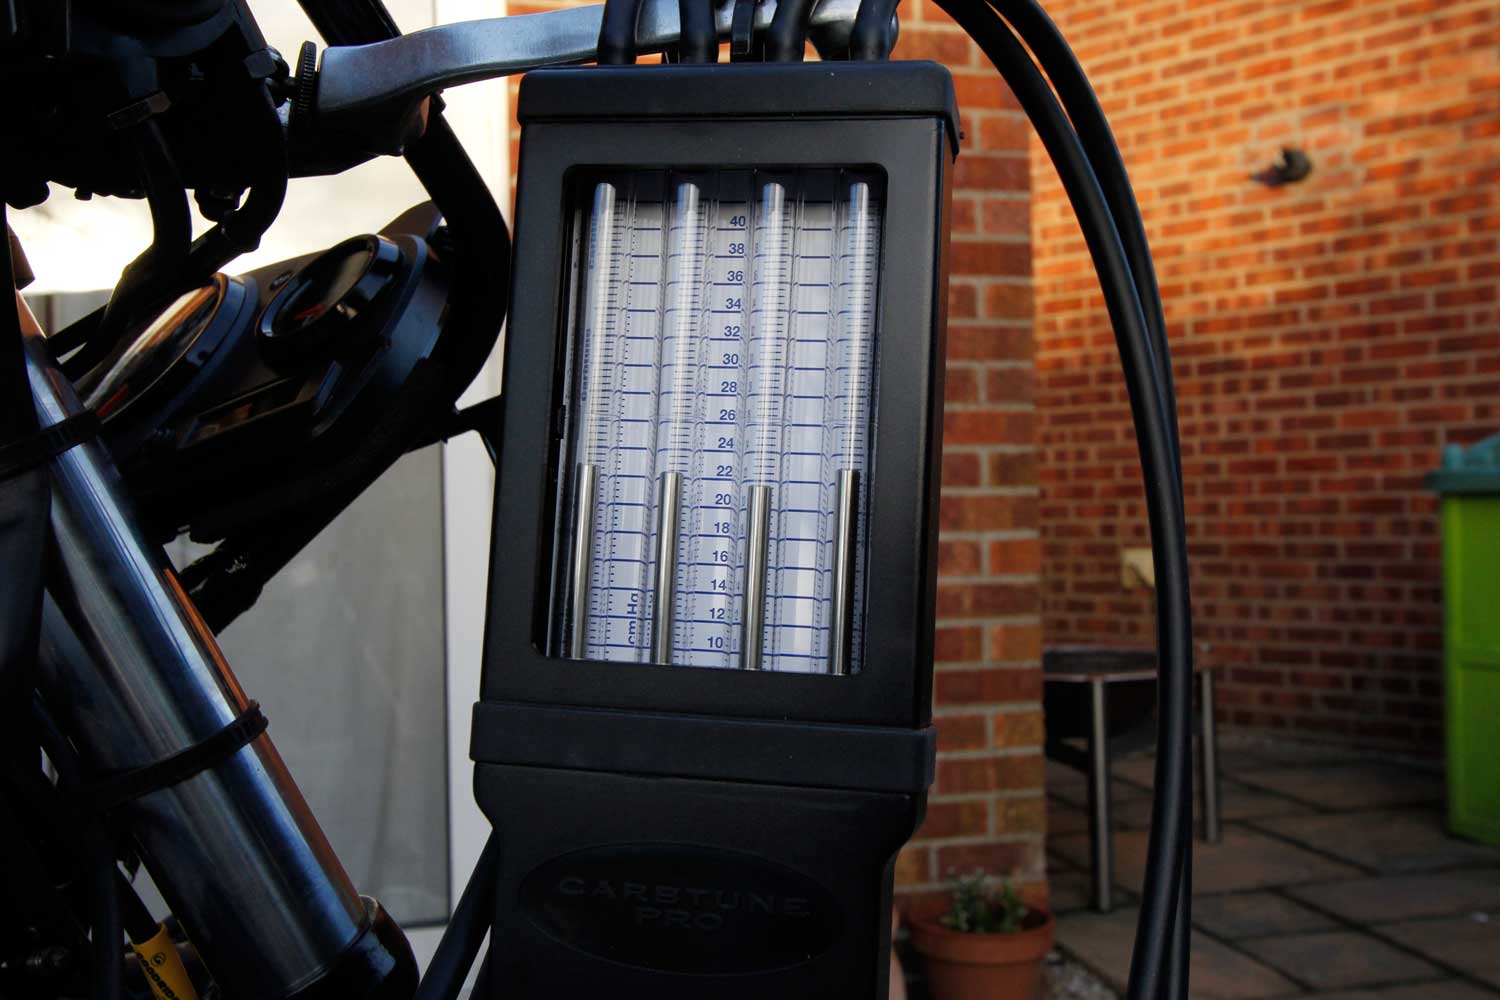
For more info on the excellent Morgan Carbtune, go to www.carbtune.co.uk or call 028 9023 9007
Advert
Enjoy everything More Bikes by reading the MoreBikes monthly newspaper. Click here to subscribe, or Read FREE Online.