Anyone can look after a motorcycle. Here’s how and why you should at least learn the basics.
Riding a bike is a much more involving experience than driving a car. When your motorcycle tyres lose pressure, you feel the difference in the steering, when the chain gets slack, your gearchange feels sloppy, when the bearings in your steering are worn you’ll feel the clumsiness in corners. So keeping on top of your bike is all the more important because the better you look after it, the better it will be to ride and the safer it will be too.
Fortunately, motorbikes are very simple to maintain. Checking the oil, brakes and tyres, adjusting the chain and making sure it is safe takes no more than half an hour. And the best thing to do is incorporate it into a weekly clean, because it’s while you’re scrubbing away at the engine, exhaust, wheels and bodywork that you’ll also notice any other discrepancies or changes since the previous week.
Enjoy everything More Bikes by reading the MoreBikes monthly newspaper. Click here to subscribe, or Read FREE Online.
Checking the tyres
There are two things to check here. Firstly the pressures. Motorbikes are sensitive to tyre pressures. Once they drop a few psi you’ll find the bike feels heavy to steer and imprecise in corners. Most modern tyres, fitted properly, wi 11 take a month or two to lose enough pressure that you’d notice, but it’s still worth a weekly check because if they’ve dropped significantly in a week you know there’s a problem somewhere.
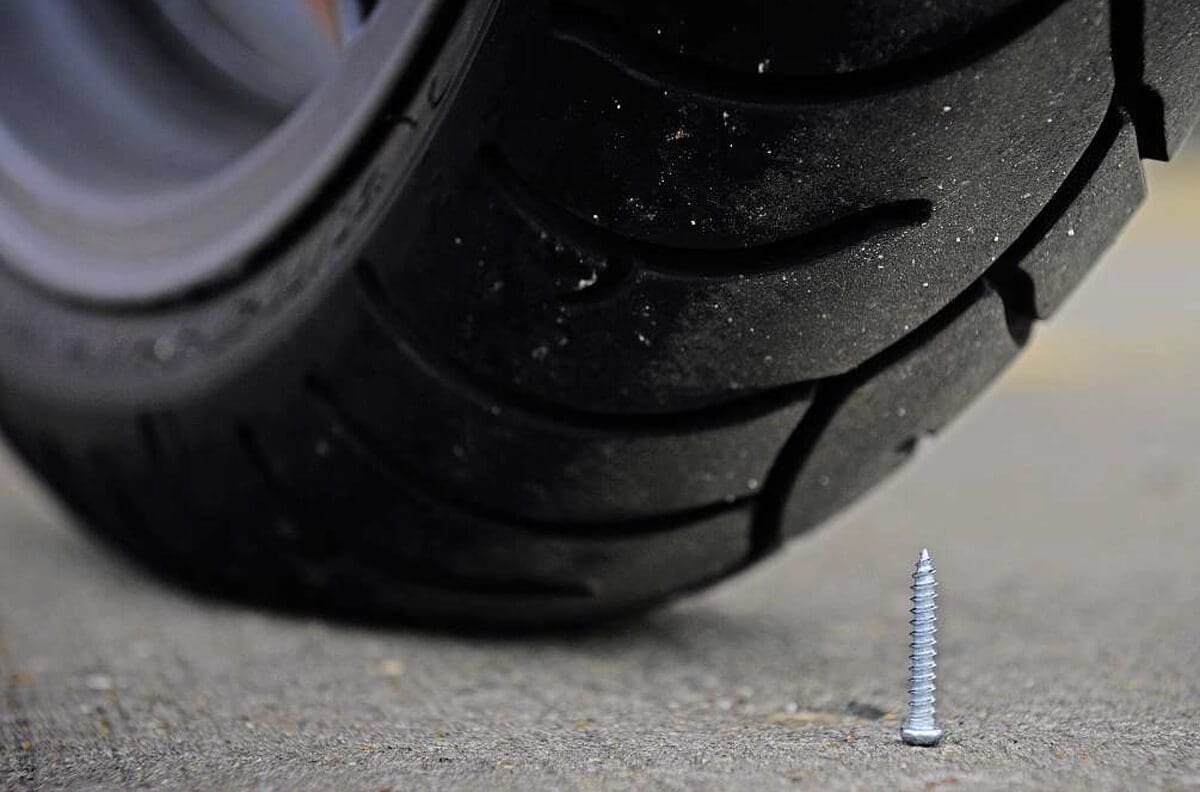
Recommended pressures are for tyres when cold so always check tyre pressures before a ride because they heat up as you ride and the pressures increase. The other thing to do is spin the wheels and have a look for debris in the tyres. Screws and nails can get into the rubber without puncturing the carcass. Leave them there and eventually they will go through (usually in the fast lane of the M25 on a wet and miserable November evening). If you spot anything, pull it out and listen for a hissing noise. If in doubt rub some washing up liquid over the area and watch for bubbles. If you see any, the tyre is punctured and needs repairing.
Some motorcycle tyres (usually on spoked wheels) still use inner tubes like your bicycle. These have a tendency to lose pressure faster.
Adjusting the chain
A well-adjusted chain makes gearchanges smoother and sends more of your engine’s power to the wheel. Too tight and you’ll have stiff, whip cracking gearchanges. Too slack and you’ll have sloppy gear shifts and, at worst, a hole in your engine casings where the chain comes off at 70mph, narrowly misses slicing through your leg and tears a hole in the engine.
There is usually a sticker near the chain that gives the correct amount of slack. Here’s how to get it right:
1) Loosen the rear wheel spindle nut
2) Loosen the lock nuts on the adjusters
3) Turn the adjusting nuts on either side clockwise, no more than a quarter turn
4) Check the tension
5) If it’s okay check the position of the chain adjusters with the marks on the swing arm to make sure the spindle is the same distance along on both sides (which means the back wheel is in line with the frame). If both are equal, tighten the lock nuts and spindle nut and you’re done.
6) If the chain is still slack turn the adjusters another quarter turn. Check again and repeat until tight enough
7) If the wheel is out of line, back off the adjusters to bring both into line and then tighten the chain again. Tighten the spindle nut and check the tension again (some swing arms bow when the nut is done up, tightening the chain).
Lubing the chain
Your motorcycle chain has hundreds of moving parts spinning at speed bombarded by grit, salt and rain. Run it dry and it’ll be scrap in 3000 miles, but keep it lubricated (once a week is fine) and you’ll get up to 20,000 miles from a chain.
Sticky chain lube and road filth turn into a nasty grinding paste that wrecks chains, so use paraffin or degreaser in order to get the filth off first. Only use motorcycle chain lube approved for O-ring chains and spray it liberally on the inside and outside run of the chain as you spin the wheel.
Keep the lube away from the tyre and once applied leave for a few minutes for the carrier propellant to evaporate (otherwise the lube flings off al I over your bike and your tyre).
Checking the oil
Motorcycle engines like to rev. Which means they need a plentiful supply of good quality oil to keep them sweet. Run an engine low on oil and you’ll put extra stress on all its components.
Checking the oil level is simple on most bikes. With the engine warm, either put the bike on its centrestand (if it has one) or get a mate to hold it upright and look in the inspection window on the bottom of the right-hand side of the motor. You should see oil in the window somewhere between the full and empty line. If it’s too low add oil slowly until it comes between the marks. Be careful not to overfill though.
On bikes with a dipstick, check the manual. Some need to be checked upright, others on the stand. Some need the dipstick screwing all the way in, others just resting on top of the threads.
Before you check the oil, wipe the dipstick with a cloth. Then put it into the engine, remove and look for oil between the low and full marks. Top up accordingly.If when riding, the red oil warning light comes on, pull over somewhere safe and stop the engine. Check the oil immediately and top up if necessary. If the light stays on, you have a serious problem – don’t ride any further.
Checking the brakes
There are three things to check on your brakes. Fluid level, brake pad wear and the condition of the discs. To check the fluid level find the inspection window on the brake fluid cylinder and look for fluid between the low and full mark. If low, then remove the cap from the cylinder carefully (brake fluid ruins paintwork) and top up with the correct fluid from a sealed container (brake fluid absorbs moisture quickly once the seal on the bottle is broken).
Brake pad wear can be checked visually by looking into the caliper with a torch. You’ll see the pad backing plate with the pad material stuck to it. Ideally, you should be able to see at least 2-3mm of pad material. Any less and they need changing.
Brake disc condition is a check for deep scoring or cracks in the disc. Warped discs are common on sports bikes and are felt as a pulsing through the lever when you apply the brakes.
Quick electrical check
Have a look around the bike and check that all lights, indicators and the horn work as they should.